Moody Dark Lightroom Preset – Free Download
59.4° N 24.8° E TALLINN, ESTONIA 2025 No. 09 / 17
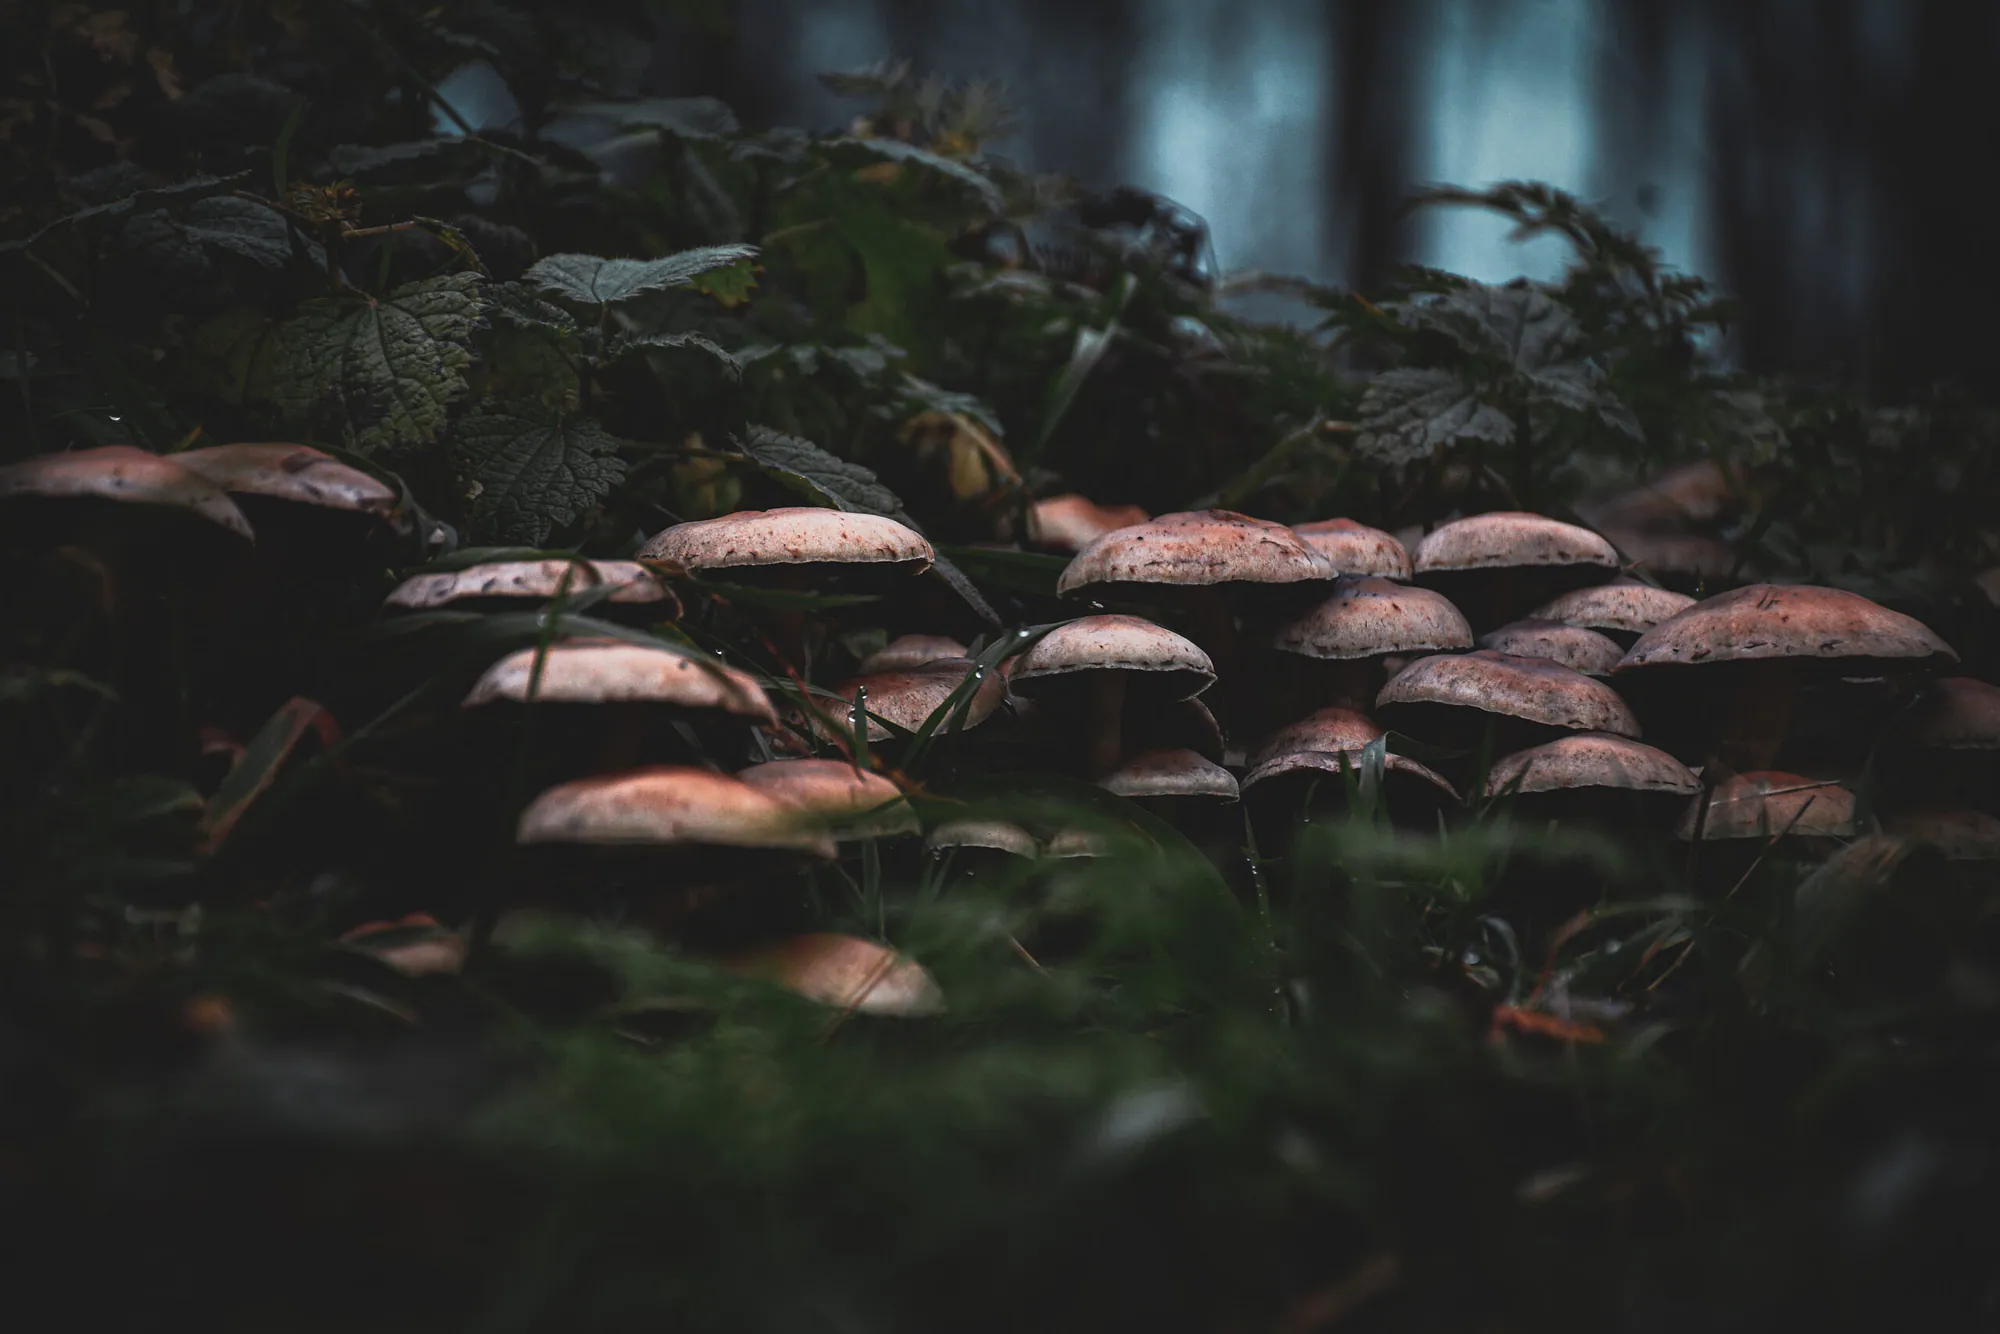
Use Moody Dark as a disciplined starting point for forest edits rather than a one-click finished look. It gives bright greens less visual weight, draws attention toward warmer forest-floor details and creates a darker, quieter foundation for the RAW file. It works especially well with mushrooms, wet foliage, rain and overcast scenes. Exposure, white balance, highlight control and local adjustments still depend on the individual frame.
Jump to download and installation
Built for subdued light
A wet forest can feel quiet in person and surprisingly loud in a RAW file. Green leaves reflect the sky, grass catches every small highlight and moisture pushes colour saturation higher. A pale mushroom or a rust-coloured leaf—the detail that first held the eye—can become only one element among many.
Moody Dark is useful when that visual hierarchy needs calming. The edit lowers the dominance of fresh yellow-greens, gives darker forest greens more restraint and lets warm browns and orange caps sit apart from the background. Shadows become an active part of the composition. They are meant to deepen. Detail should not disappear with them.
What does the Moody Dark Lightroom preset do?
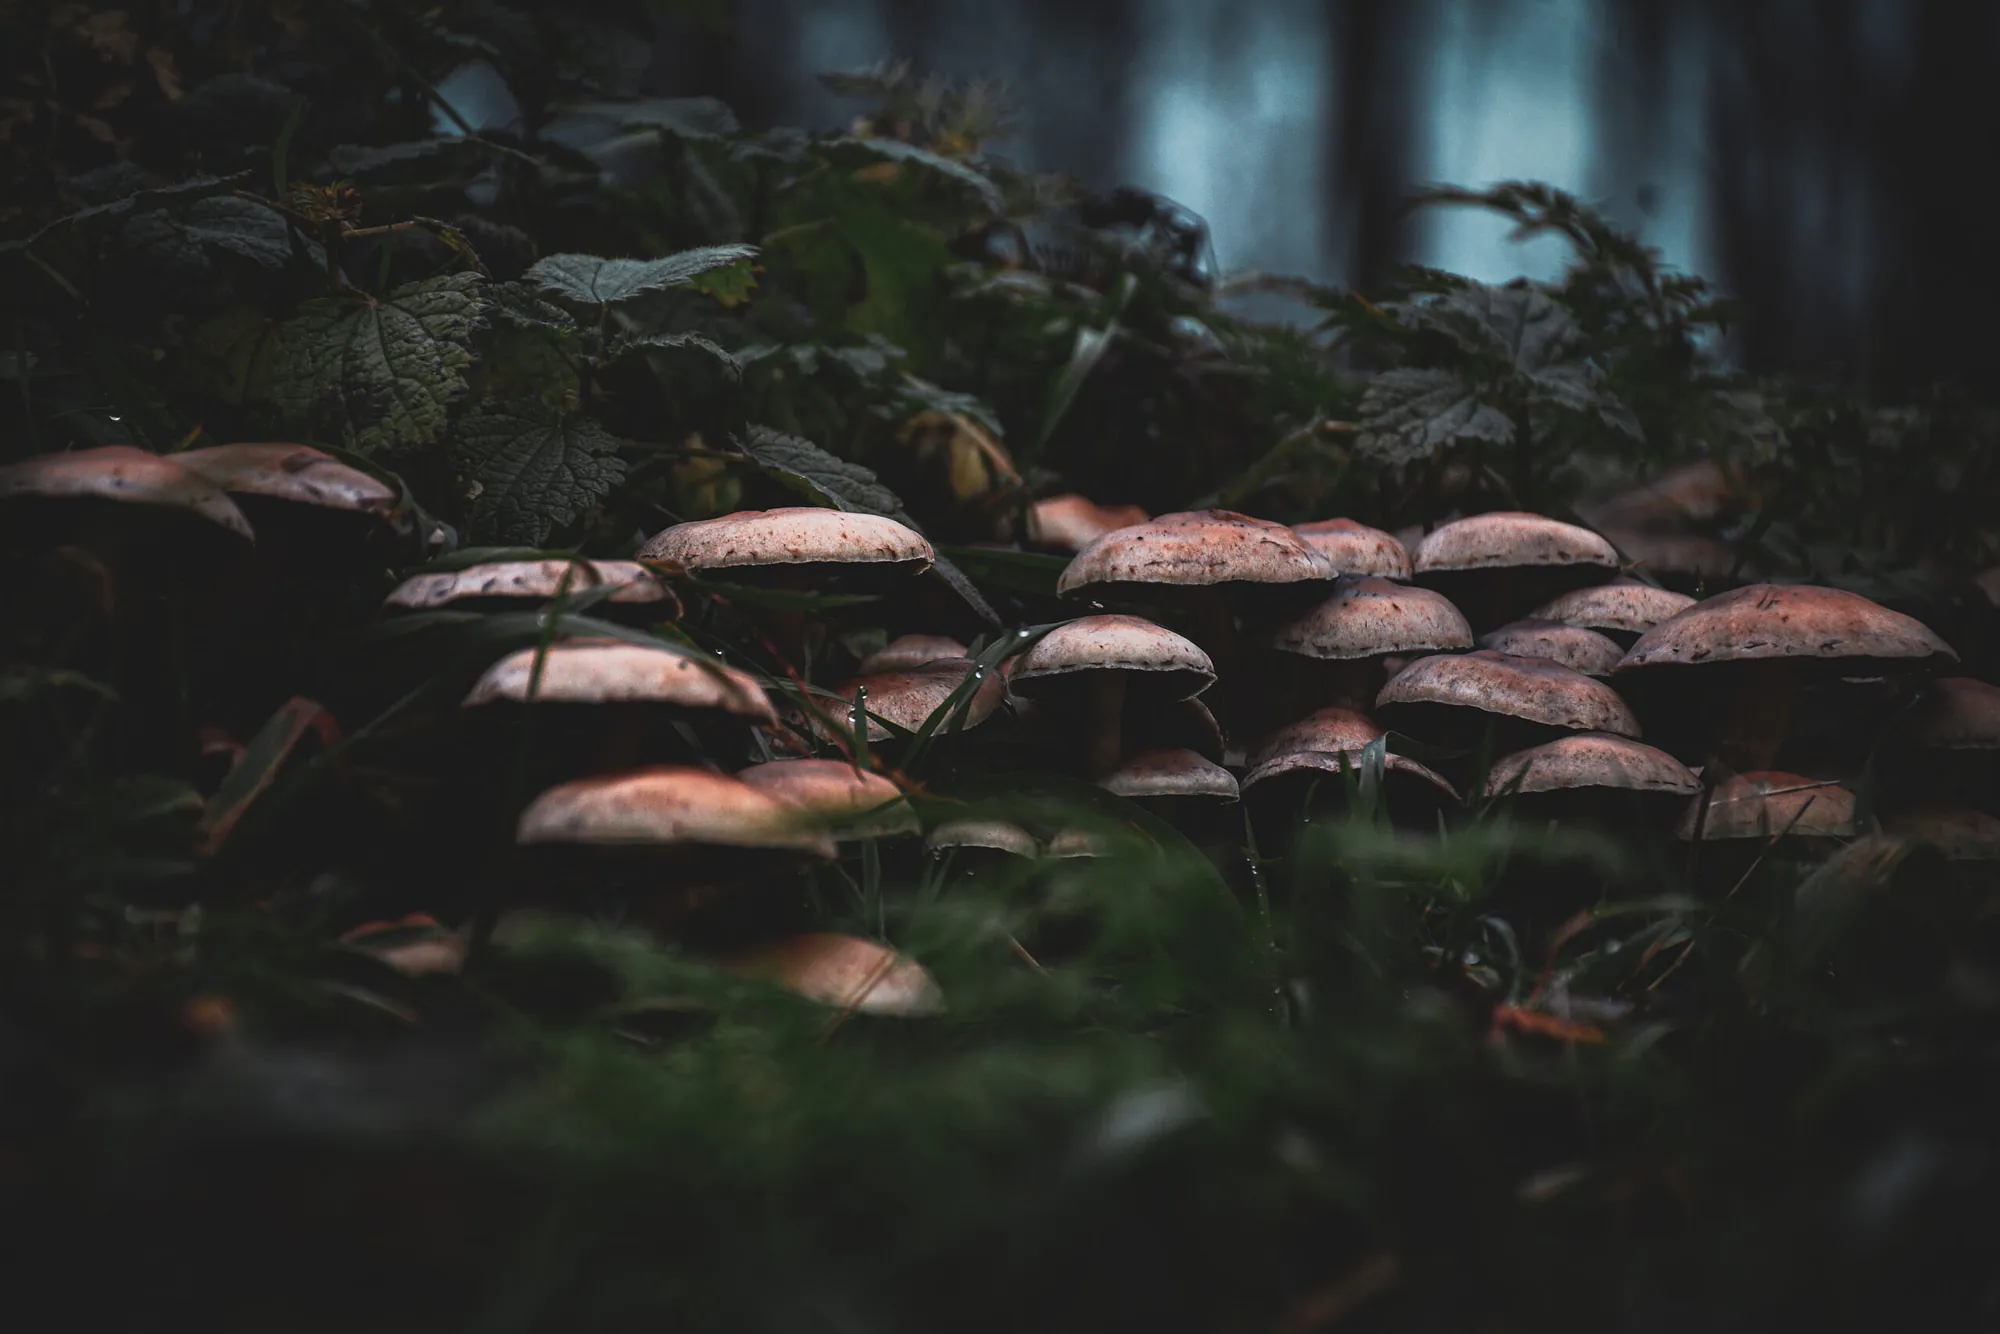
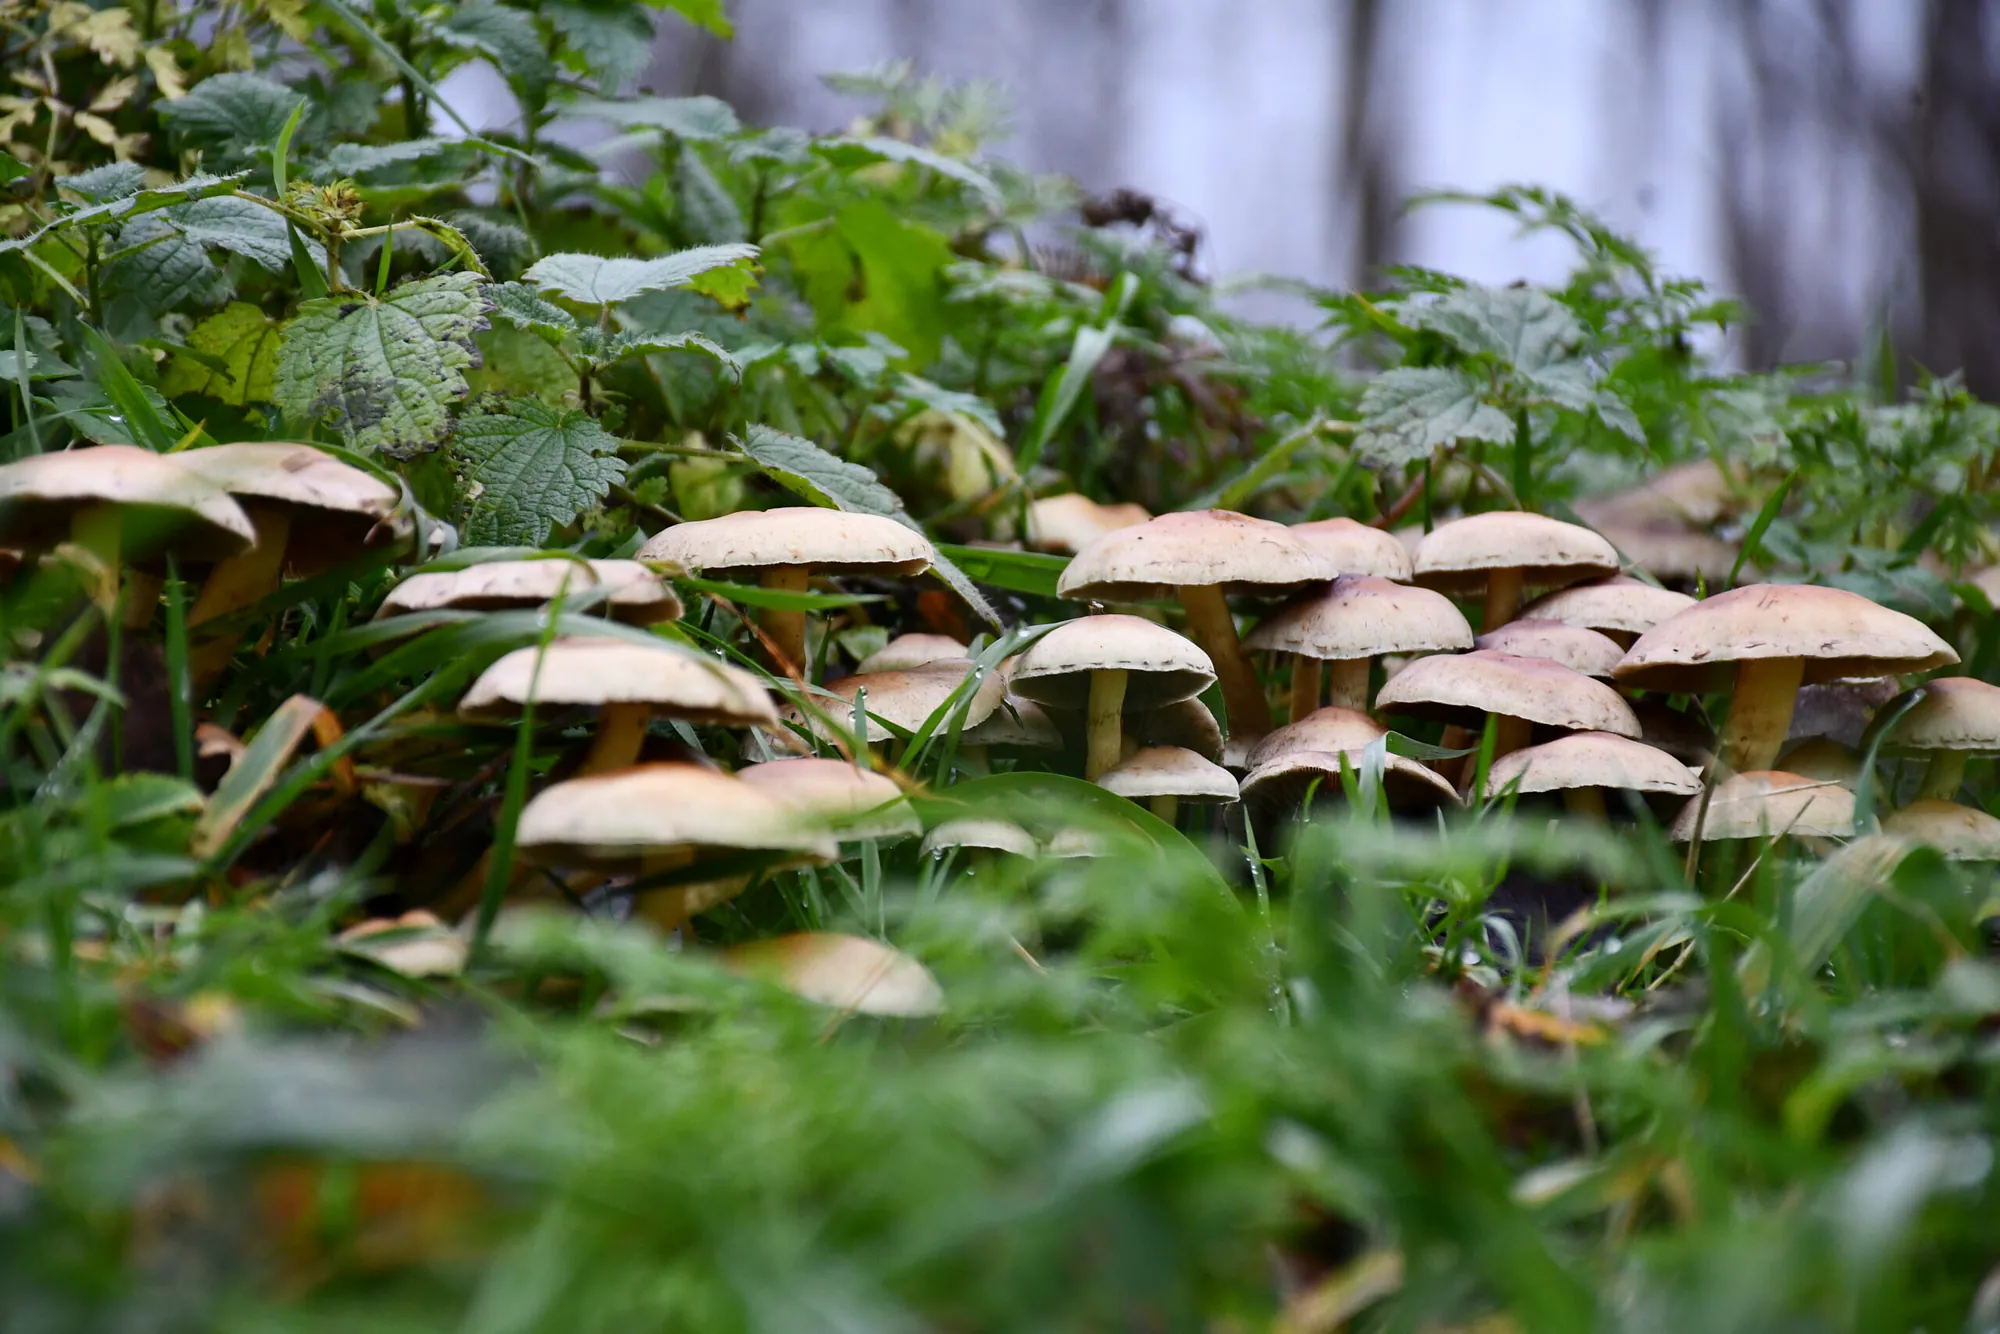
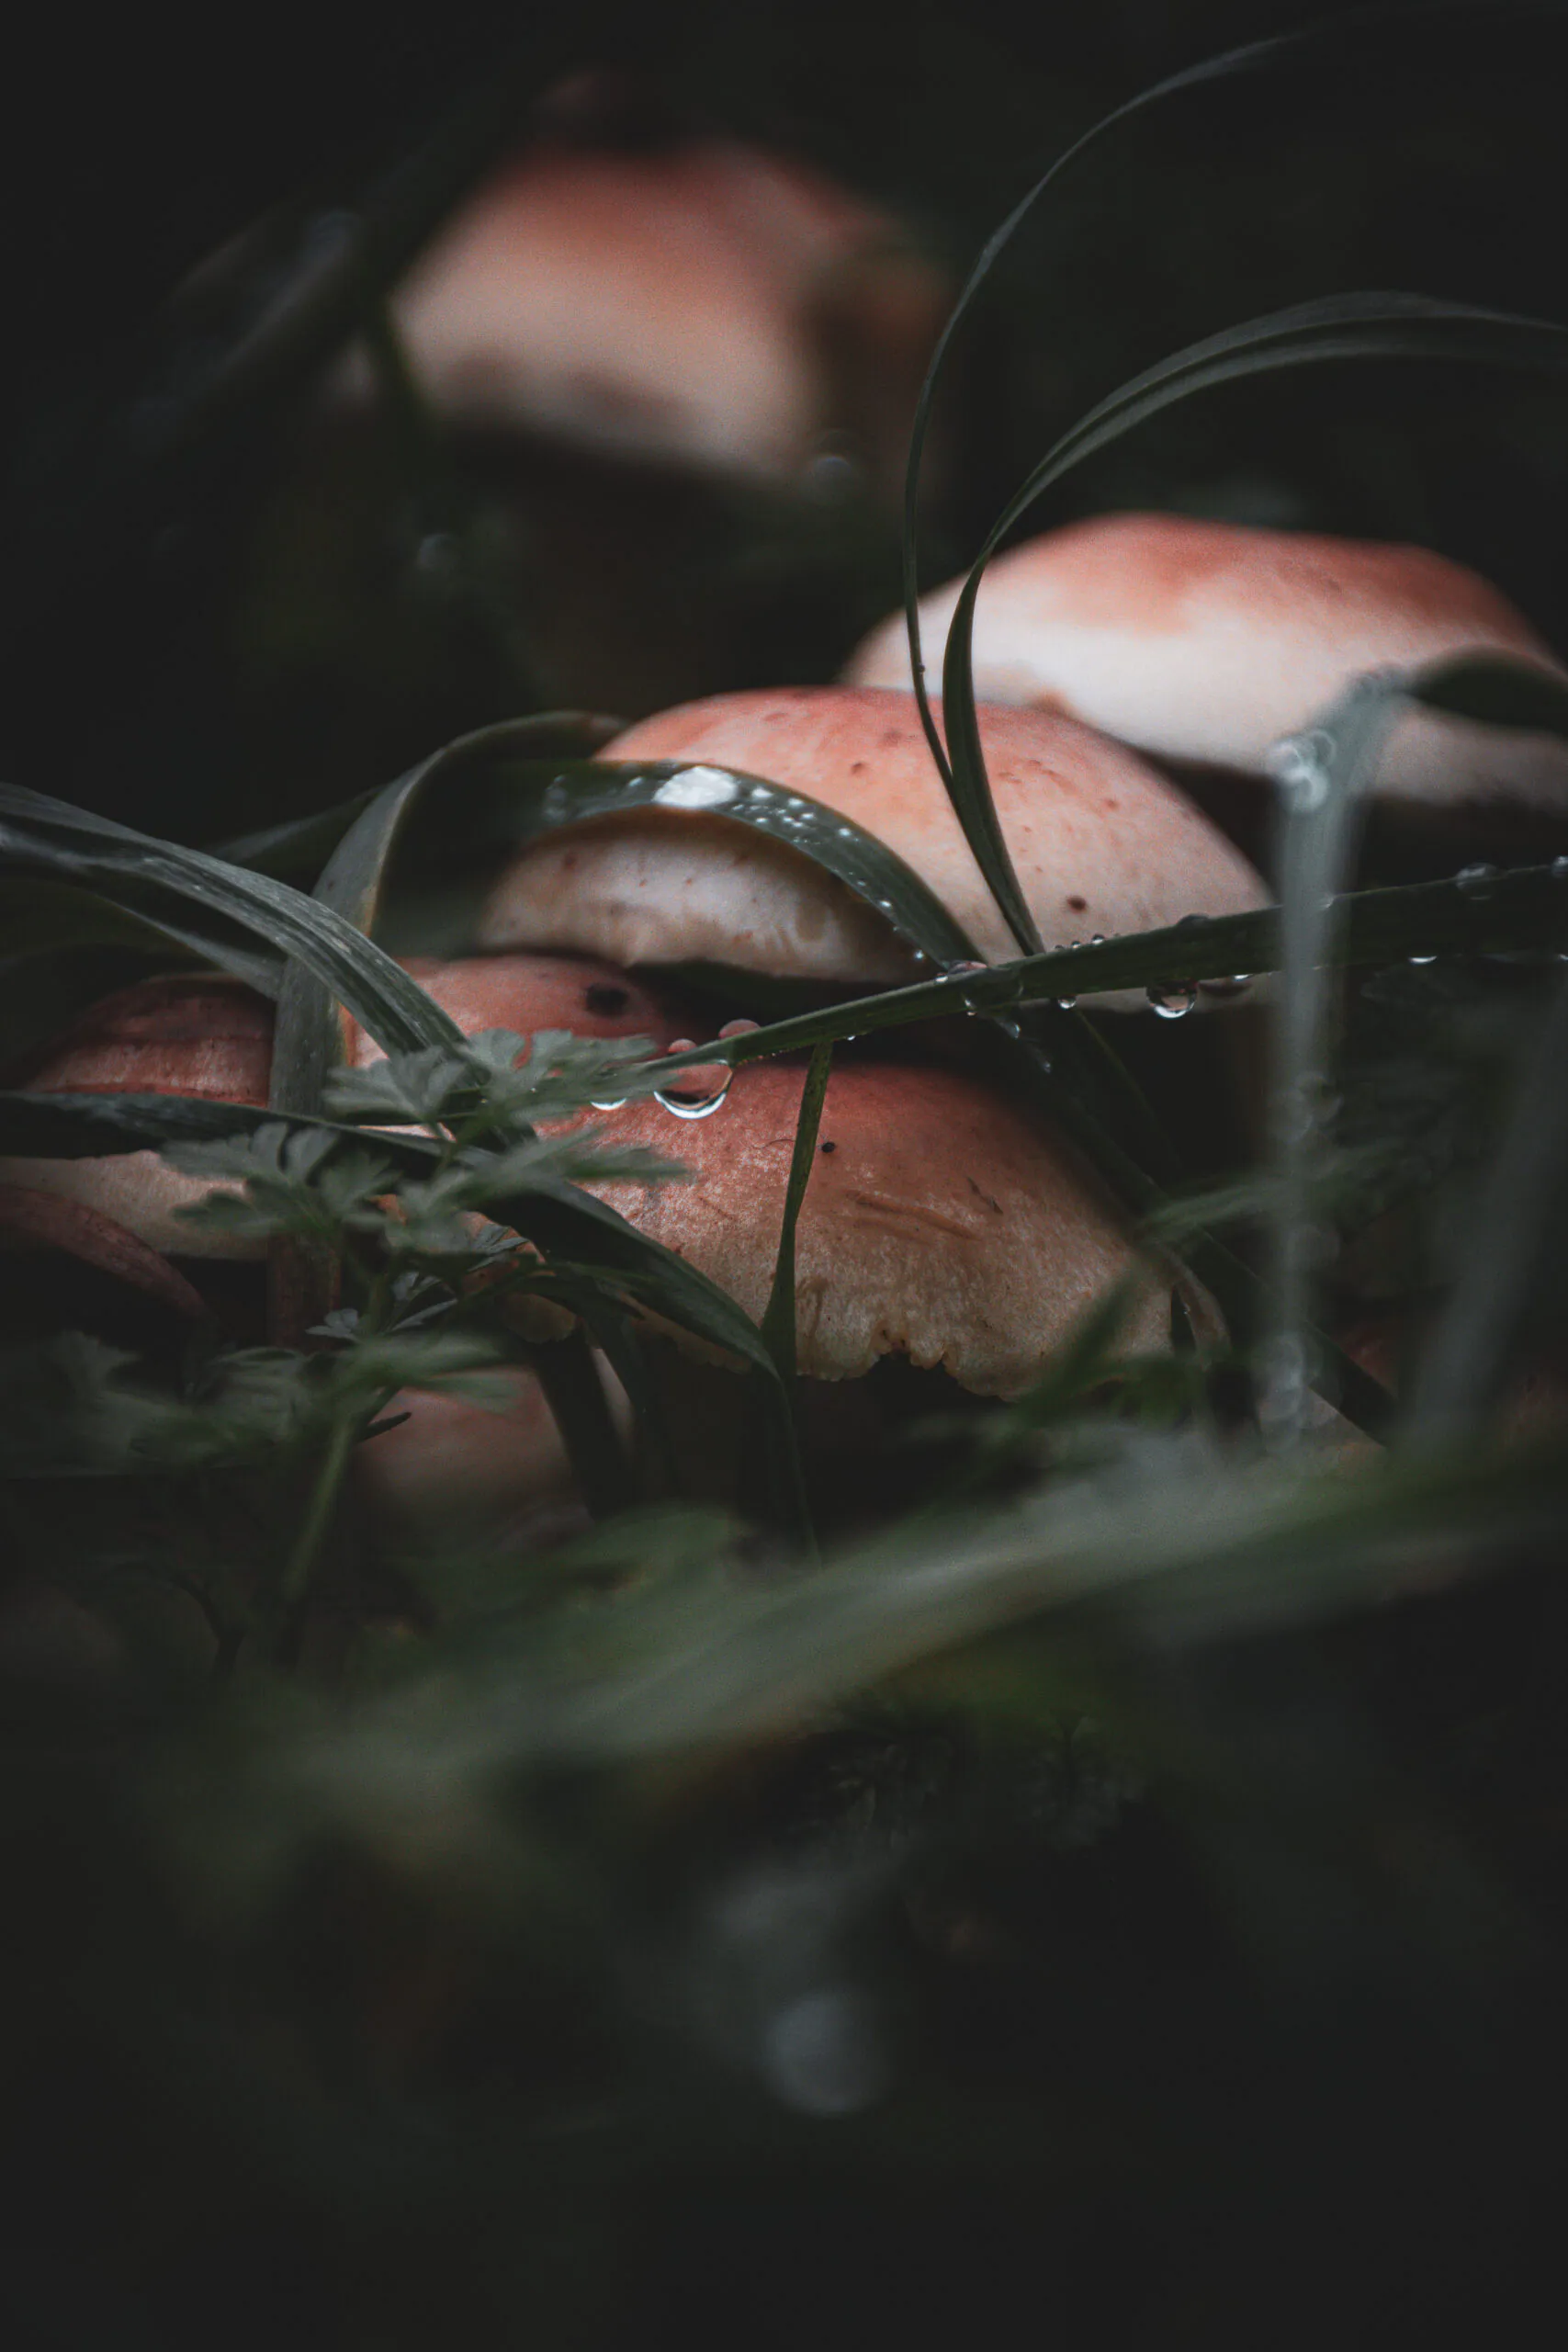
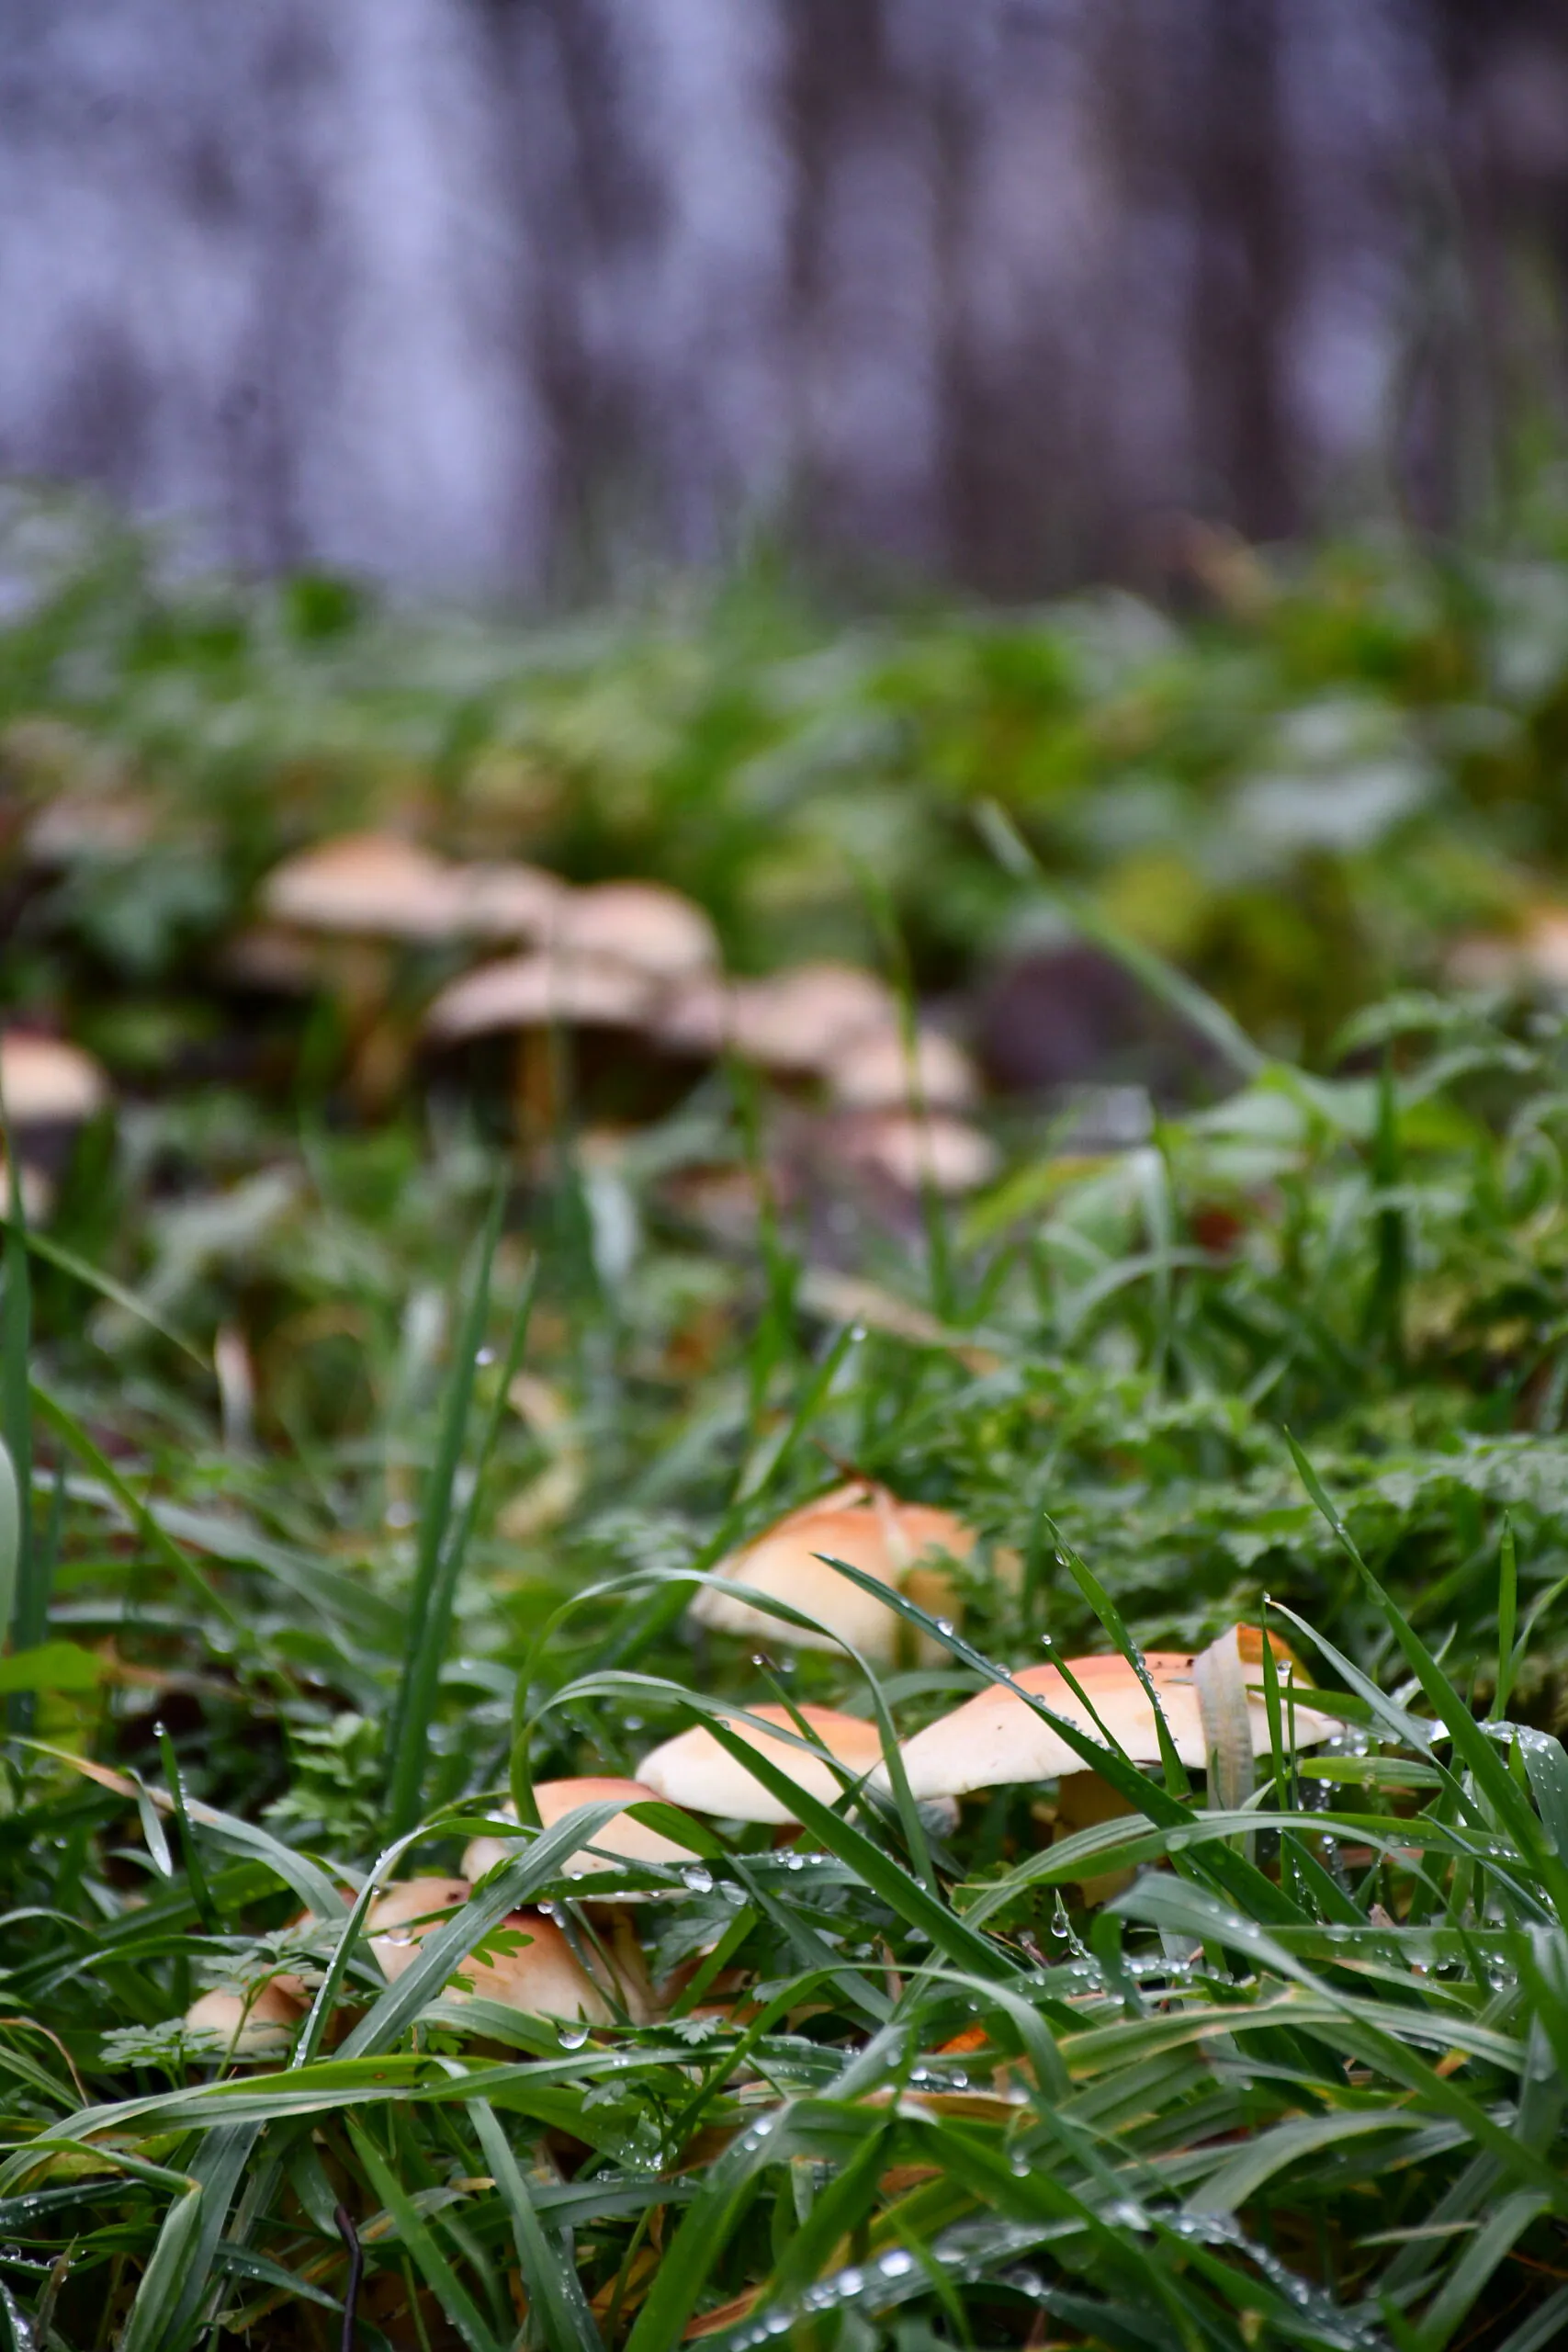
Across the examples below, the visible effect is a lower-key tonal structure, less insistent foliage and more separation between a warm subject and its cooler surroundings. Highlights on pale mushroom caps and rain drops remain small points of light rather than spreading across the frame. Browns feel deeper; greens move away from the bright, immediate look of the original files.
The exact result changes with the camera profile, starting white balance, exposure and light in the scene. The preset does not guarantee a particular slider value, nor should two RAW files be expected to land at the same brightness after it is applied.
- Quieter yellow-green and woodland colour relationships
- Deeper shadows with room for texture when the source file contains it
- Controlled bright areas that help pale subjects and rain remain legible
- A restrained base for woodland, fungi and low-key nature photographs
Four files · Drag to compare
See the preset on real edits
Move each divider to study a different starting file. The point is not darkness alone: watch what happens to subject separation, wet highlights, small textures and the balance between warm details and green surroundings.
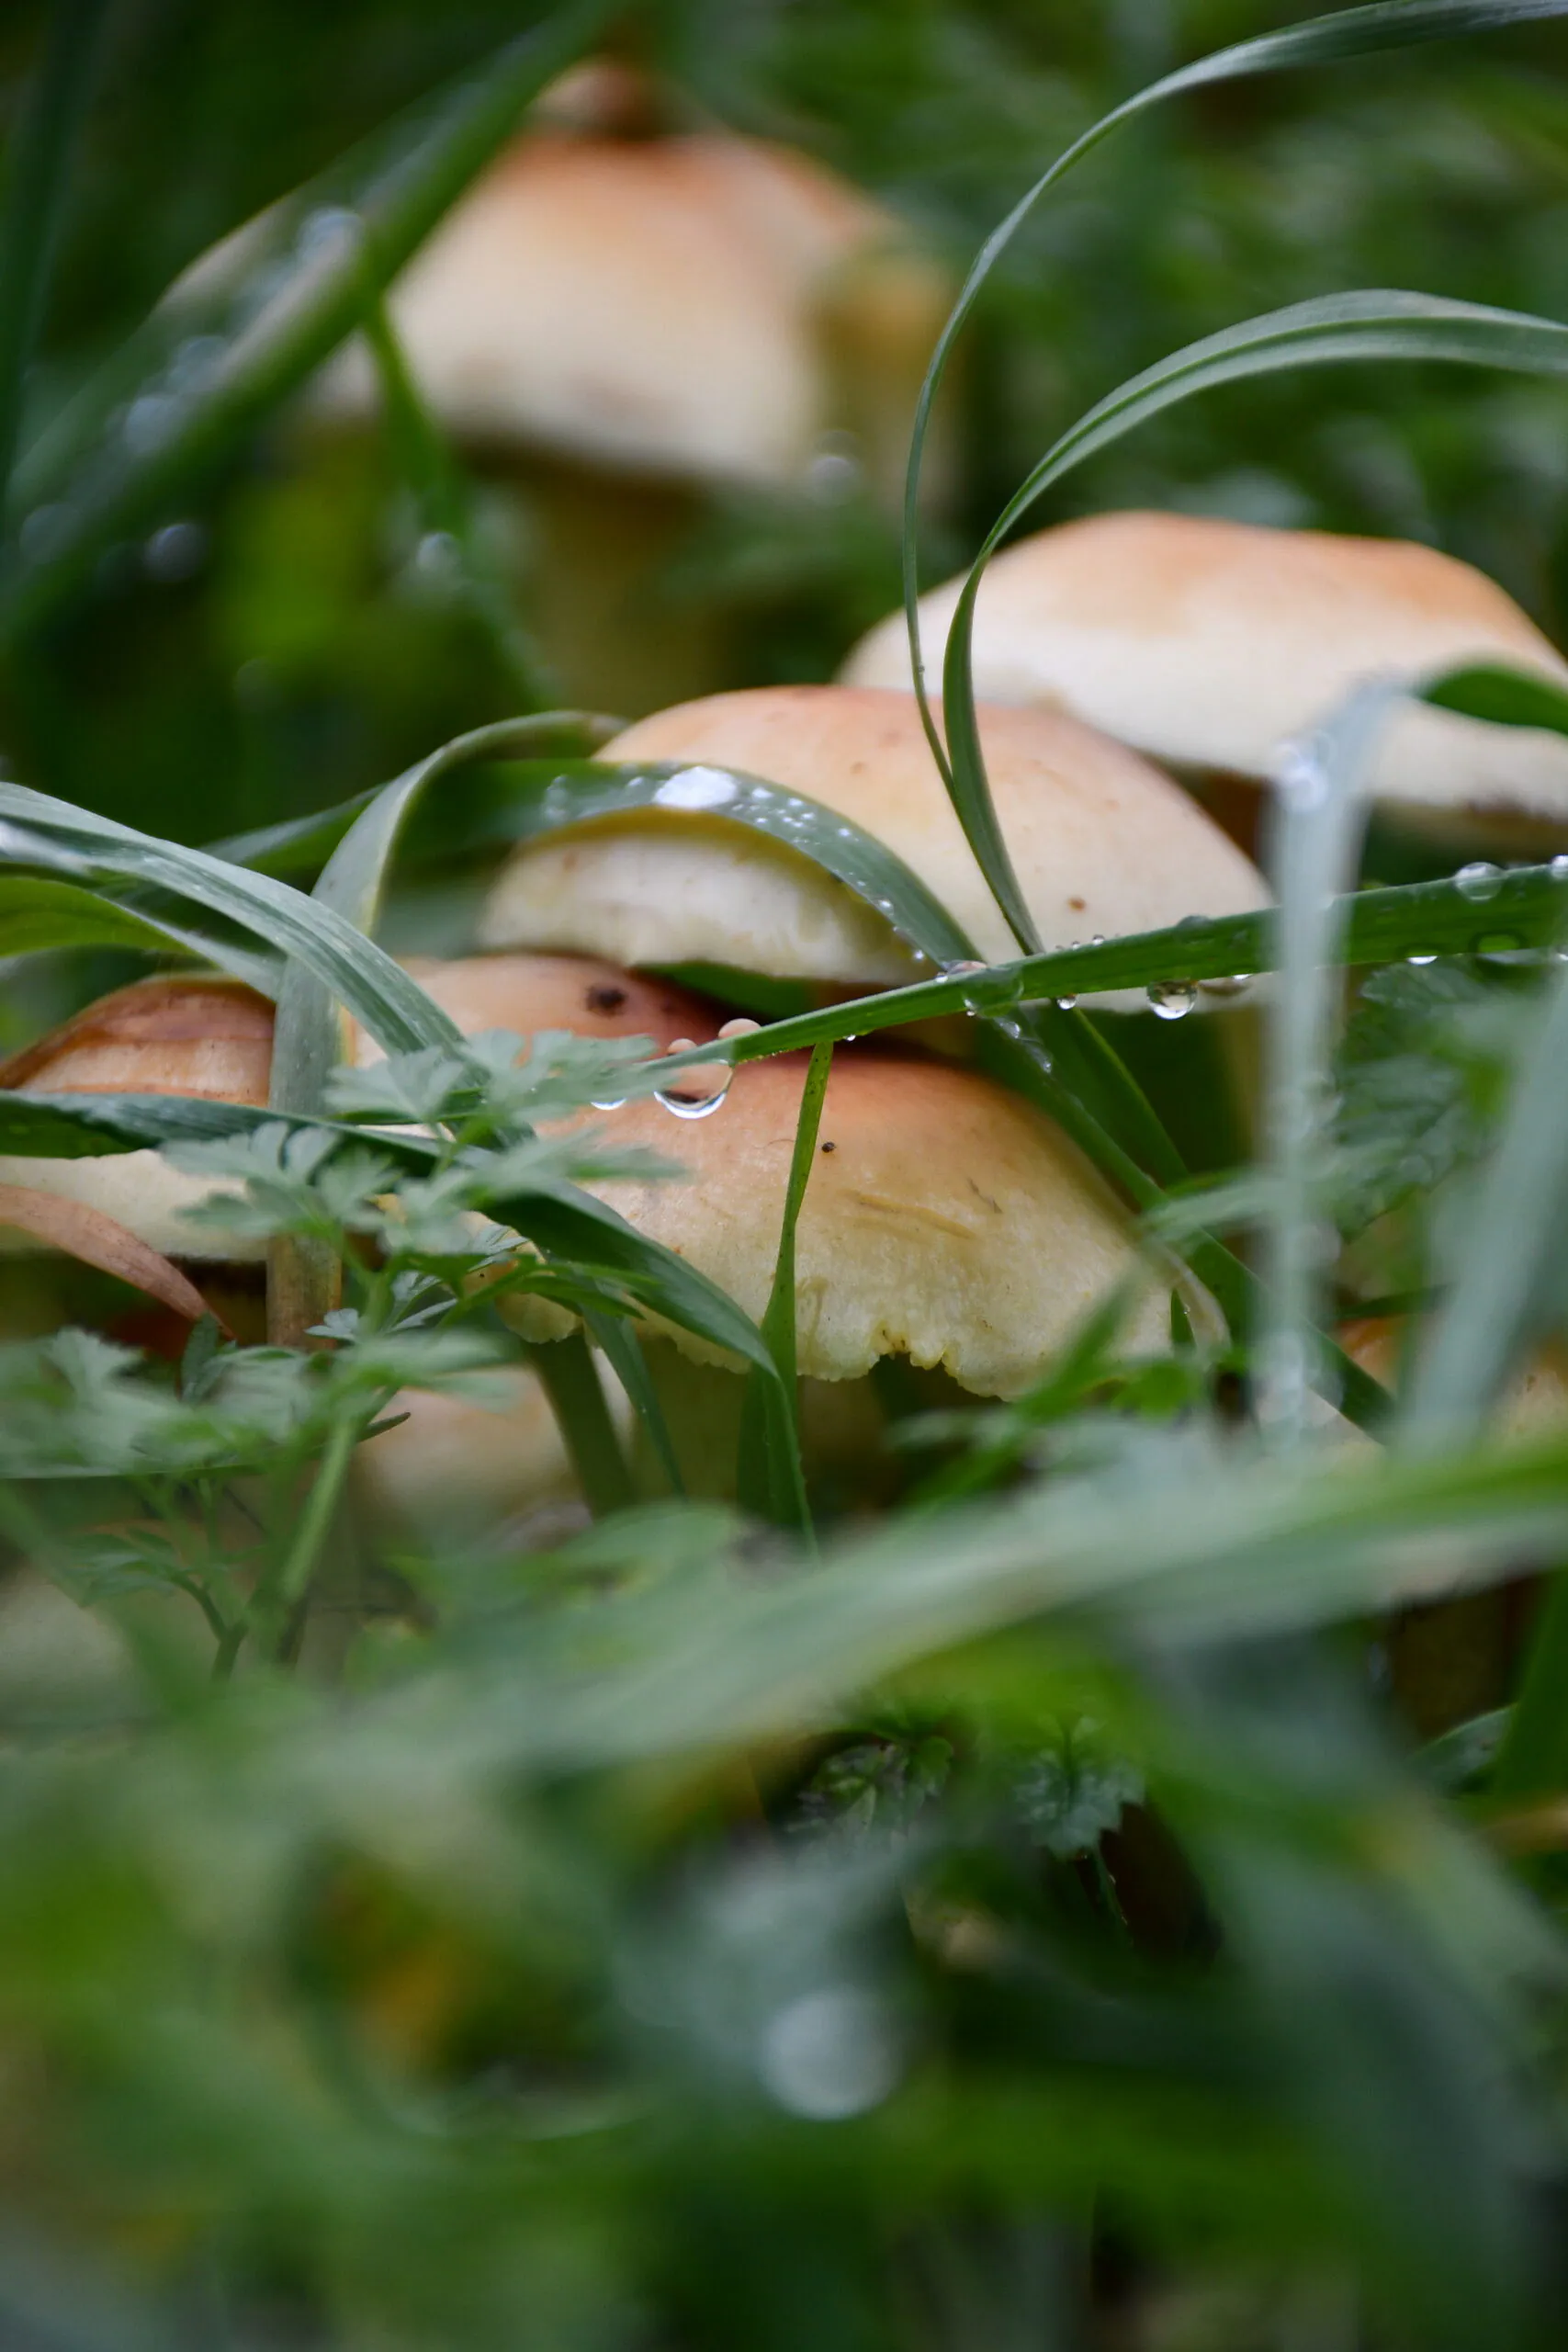
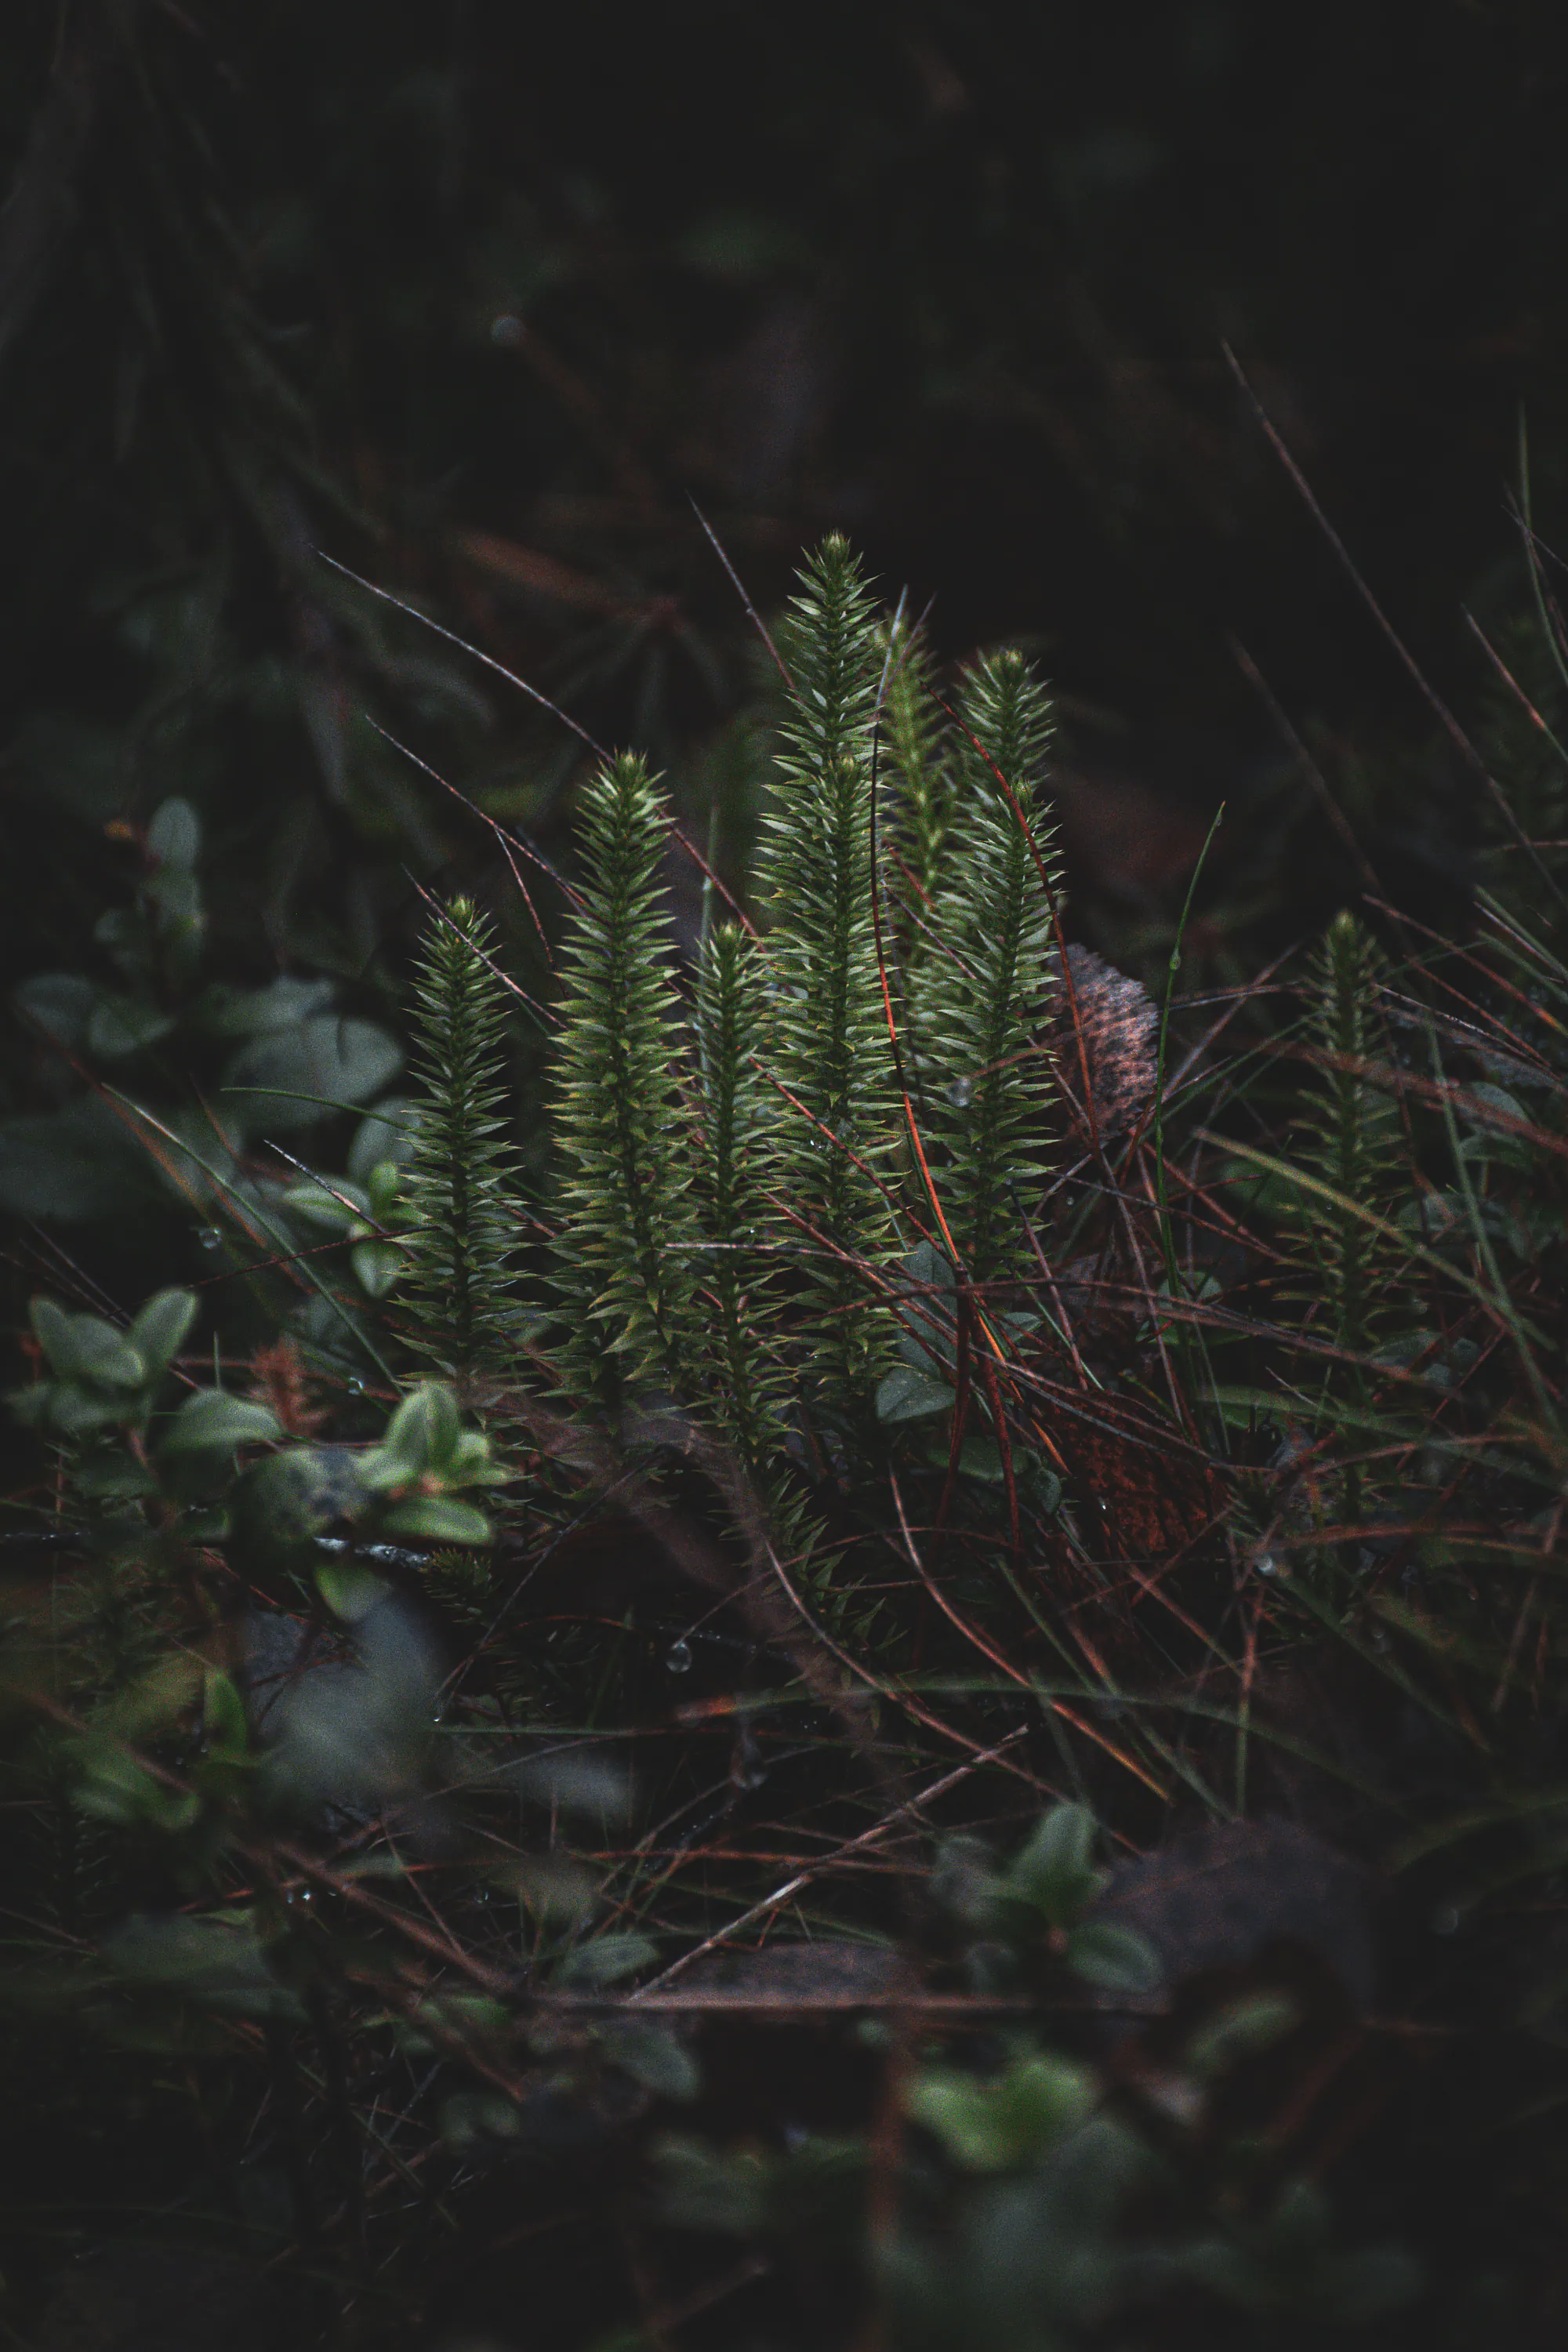
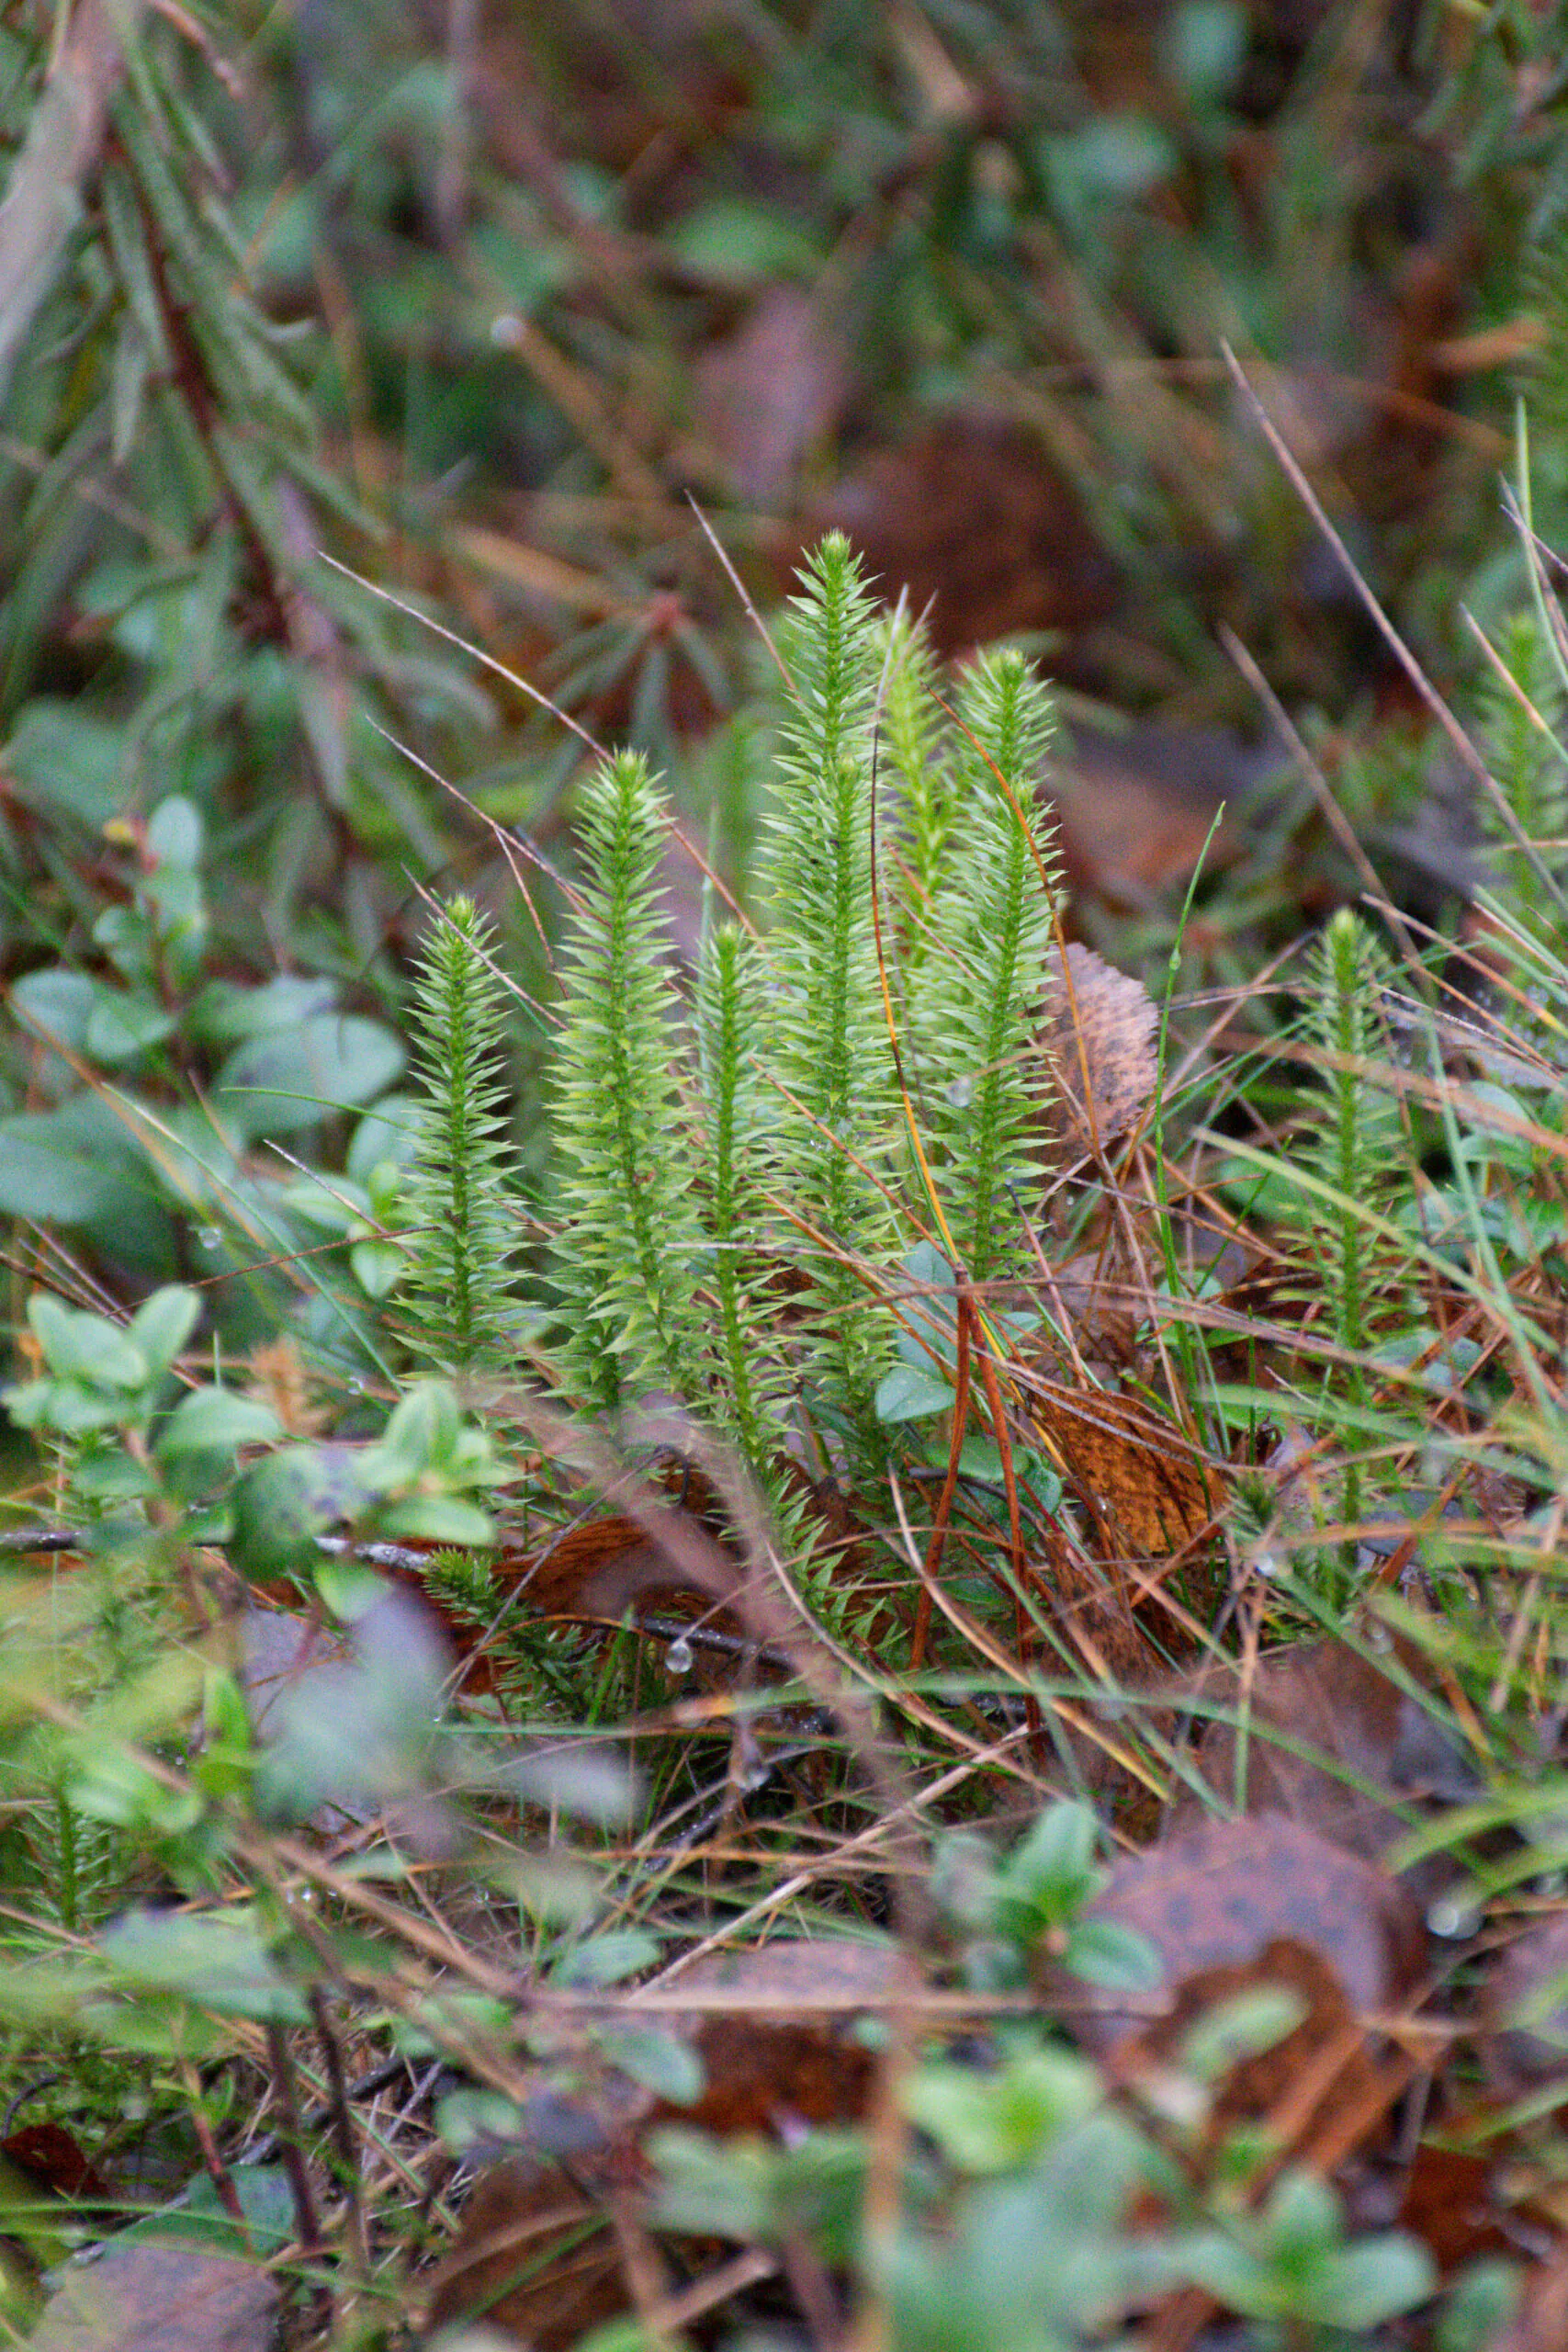
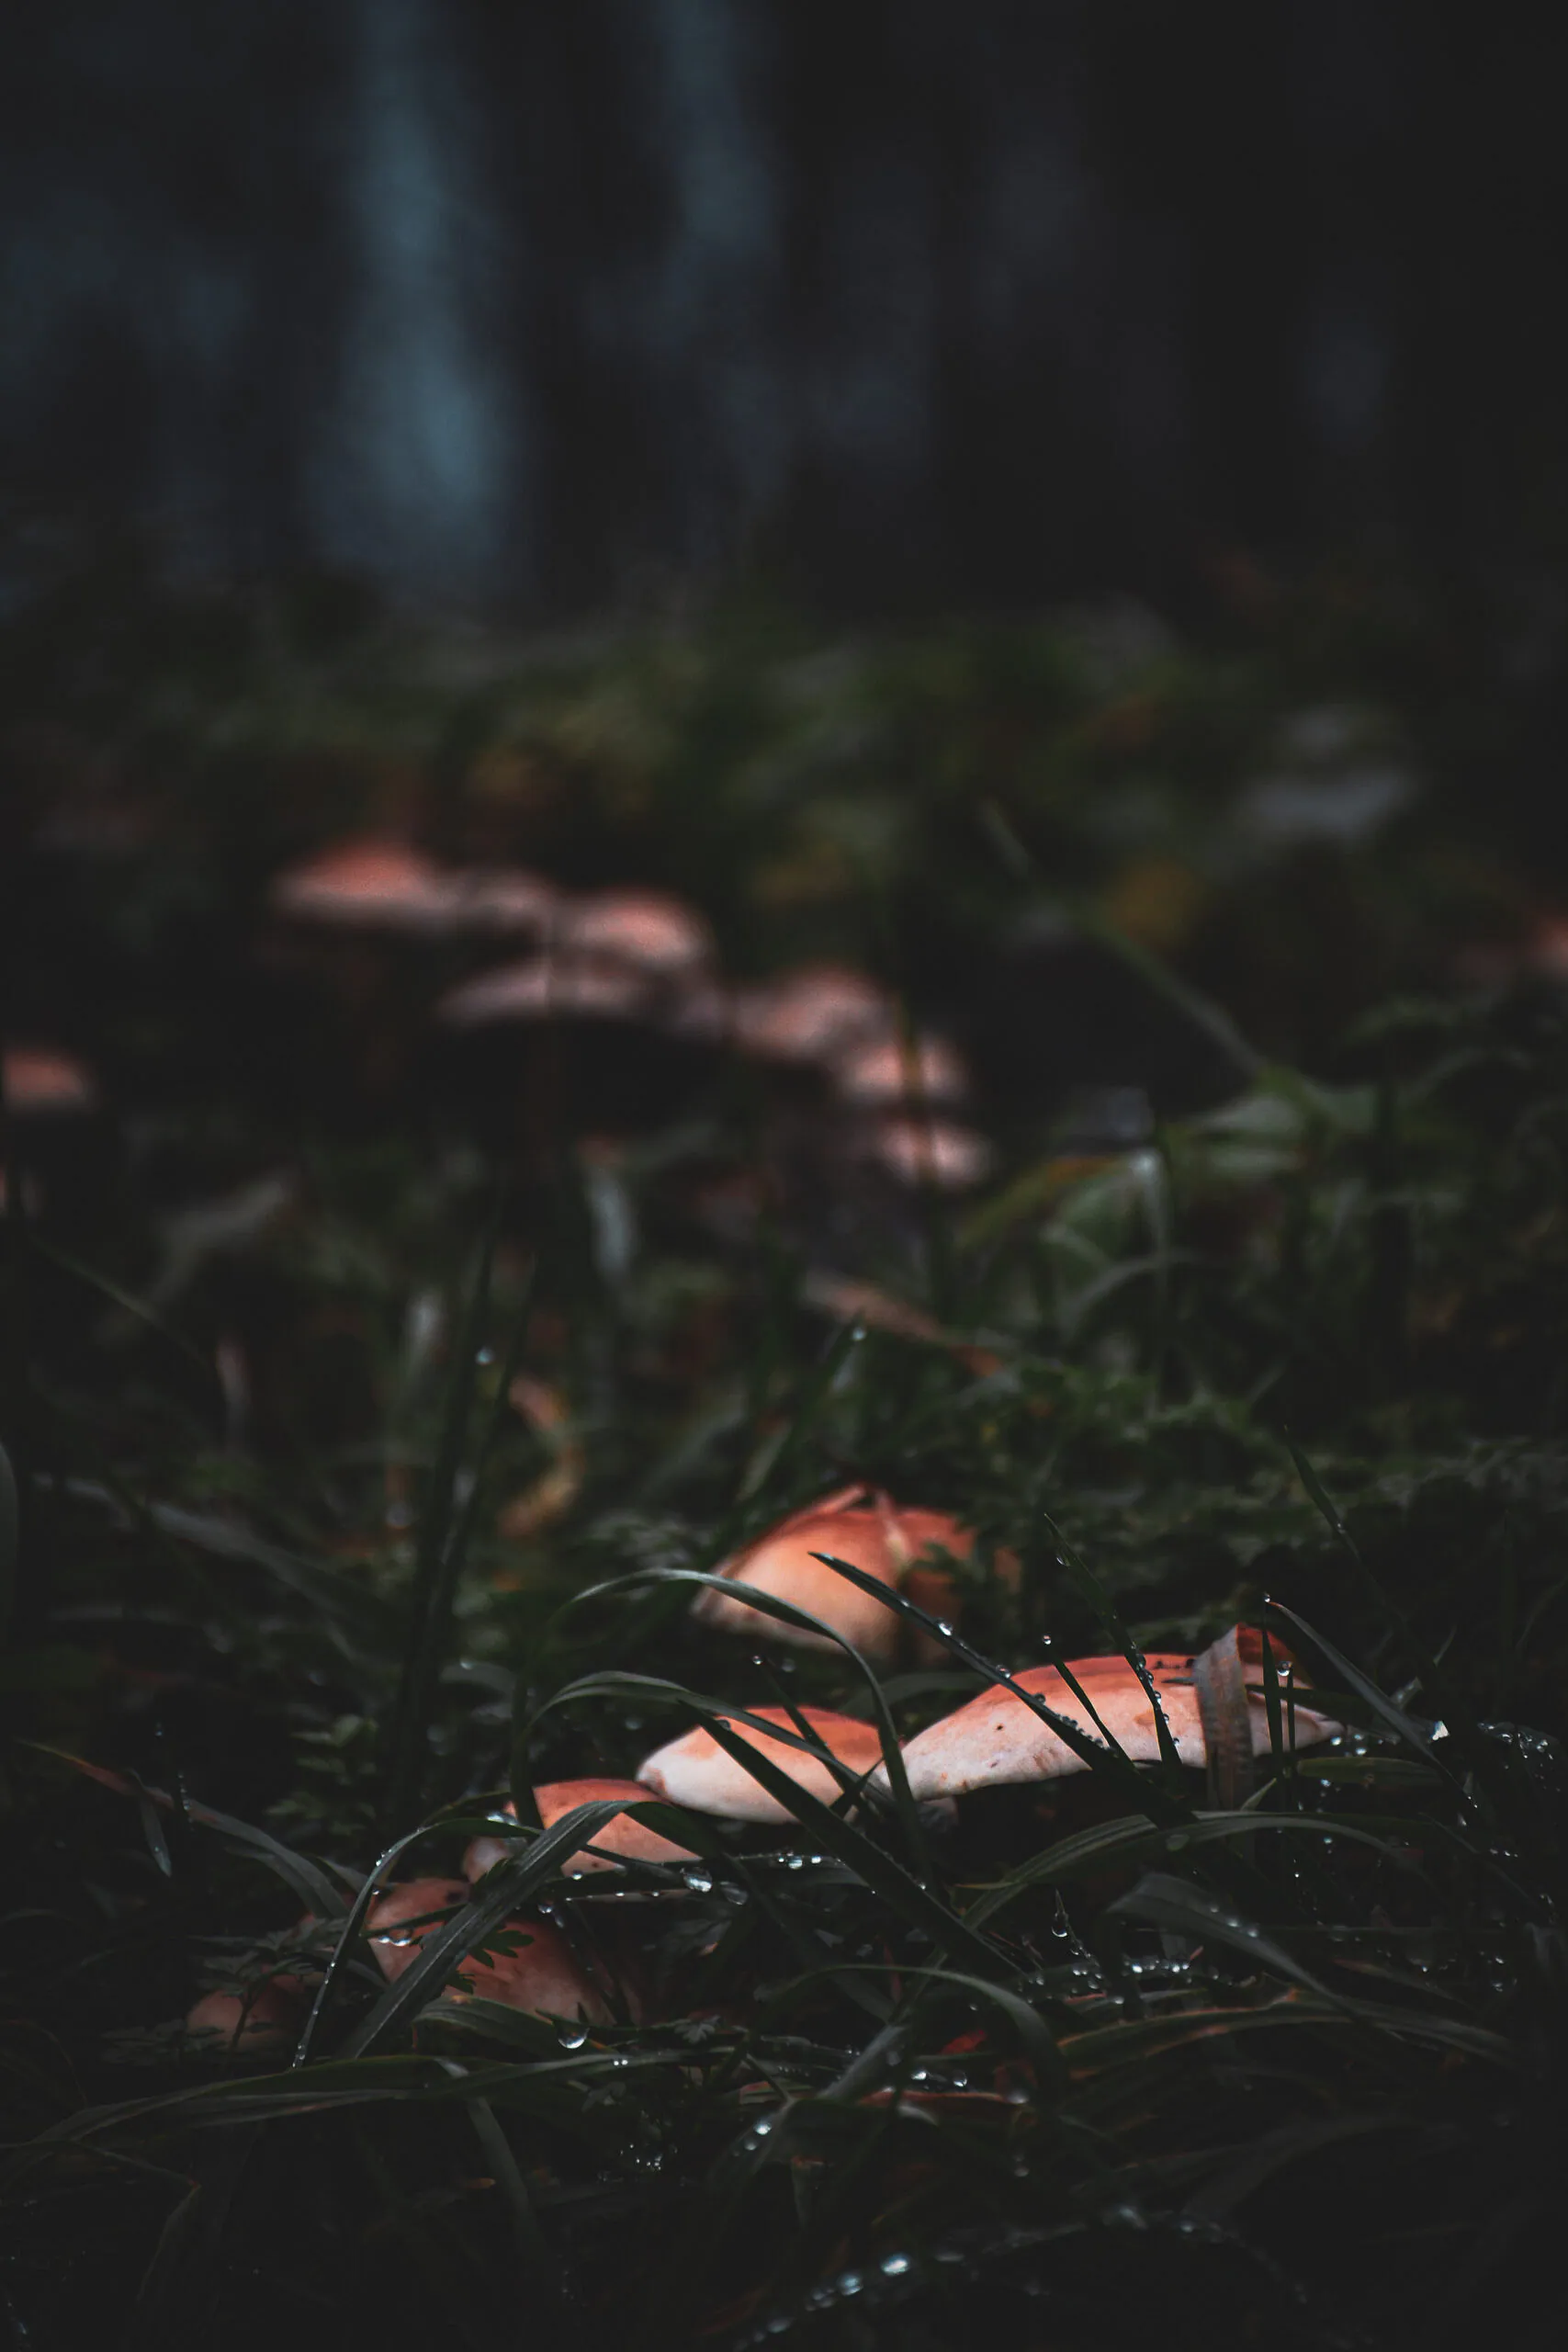
Where the look works best
Soft, overcast woodland gives this dark Lightroom preset the most useful starting material. Diffused light usually keeps specular highlights small, while wet foliage provides saturated colour that can tolerate being restrained. Forest-floor details, fungi, moss, muted autumn growth and shaded landscapes all benefit when the subject is already defined by texture rather than hard sunlight.
Low-contrast RAW files offer more room than JPEGs whose shadows are already blocked. In a flexible file, the background can be darkened while small needles, blades of grass and rain drops remain recoverable. That is the balance to watch in the comparison sliders: not simply whether the frame becomes darker, but whether the subject becomes easier to find.
The wider visual direction can also be judged against the work in the Jasper Raw photography gallery. A preset is most useful when its colour and tonal decisions support the photograph you intended to make, rather than imposing an unrelated style.
Where the look begins to break down
Direct midday sun is a difficult match. Hard highlights and deep shade already divide the frame, so adding a low-key treatment can make the shadows heavy without improving the subject. High-key studio images have the opposite problem: their brightness is usually structural, not an error to suppress.
Be cautious with files that are already very dark, strongly underexposed or dominated by mixed tungsten and magenta light. JPEGs with crushed blacks may not contain enough information to support a deeper edit. Portraits also need an individual skin-tone check; these woodland examples do not establish how the preset behaves across different complexions and lighting setups.
No preset can restore missed focus, remove motion blur, recover fully clipped highlights, repair a file with no usable shadow information or resolve a weak composition. Those limits are part of the edit, not exceptions to hide.
After the preset: finishing the file
I start with exposure and white balance because both change how every later decision reads. A cooler white balance can make restrained greens feel clean and damp, or push them toward lifeless cyan. A small exposure change can reveal bark and grass texture, while too much lift removes the low-key structure that made the preset useful. One RAW file may need roughly +0.4 EV after application and another −0.2 EV; those are examples of file-to-file variation, not settings to copy.
- Set exposure. Judge the main subject first, then check whether the surrounding darkness still contains intentional detail.
- Correct white balance. Use neutral or familiar surfaces where available, but keep the atmosphere of the original light.
- Inspect highlights. Pale caps and rain drops should retain texture instead of becoming flat white marks.
- Open or deepen shadows carefully. Look at foliage and bark at full size; lifting empty shadows only reveals noise.
- Check blacks. The deepest tones can anchor the frame, but large black areas should be a compositional choice.
- Review dominant colours. If foliage turns grey or artificially olive, adjust the colour or reduce the strength of the overall treatment.
- Separate the subject. A restrained mask on the mushroom, moss or foreground detail is often more convincing than increasing global contrast.
- Finish locally. Dodge a small highlight, darken a distracting edge or reduce colour in one competing area only when the frame asks for it.
- Check noise and sharpening. Deep edits make shadow noise and oversharpened wet textures easier to see.
- Crop and export last. Reassess edge distractions and output sharpening at the actual delivery size.
Three warning signs are easy to recognise. If the forest becomes one black mass, the tonal move has gone too far. If every green surface settles into the same muddy olive, colour separation has been lost. If the pale subject loses pores, spots or cap texture, pull back the highlights before adding more contrast.
Download and install Moody Dark
Free preset · Delivered by email
Send Moody Dark to your inbox
Keep an untouched copy of the original photograph and the downloaded preset file. Import the supplied file through Lightroom’s Presets panel, then test it on one representative image before applying it across a set. Menu names and import steps can vary between Lightroom versions and devices, so use the import command shown by the version installed on your system.
- Save the preset file in a location you can find again.
- Open Lightroom and locate the Presets panel.
- Choose its import command and select the supplied file.
- Apply Moody Dark to a test photograph.
- Work through exposure, white balance and subject-specific corrections before synchronising the edit to other files.
A good final check is to leave the photograph for a few minutes, then return without looking at the sliders. Notice where the eye lands first. If it reaches the intended subject before it notices the darkness, the preset is doing useful work.
For photographs being prepared for licensing, the Adobe Stock contributor workflow covers file inspection and submission. The guide to selling photographs online places presets, stock and prints in a broader publishing context.
Discussion
Thoughts on this story?
A quiet place for questions, experience and considered discussion.
Discussion guidelines
Stay relevant and constructive. No spam or harassment; links may be moderated.
Opening the discussion…