How to Photograph Estonia’s Bogs: Light, Composition and Locations
59.5° N 25.6° E VIRU RABA, KUUSALU 2025 No. 08 / 17
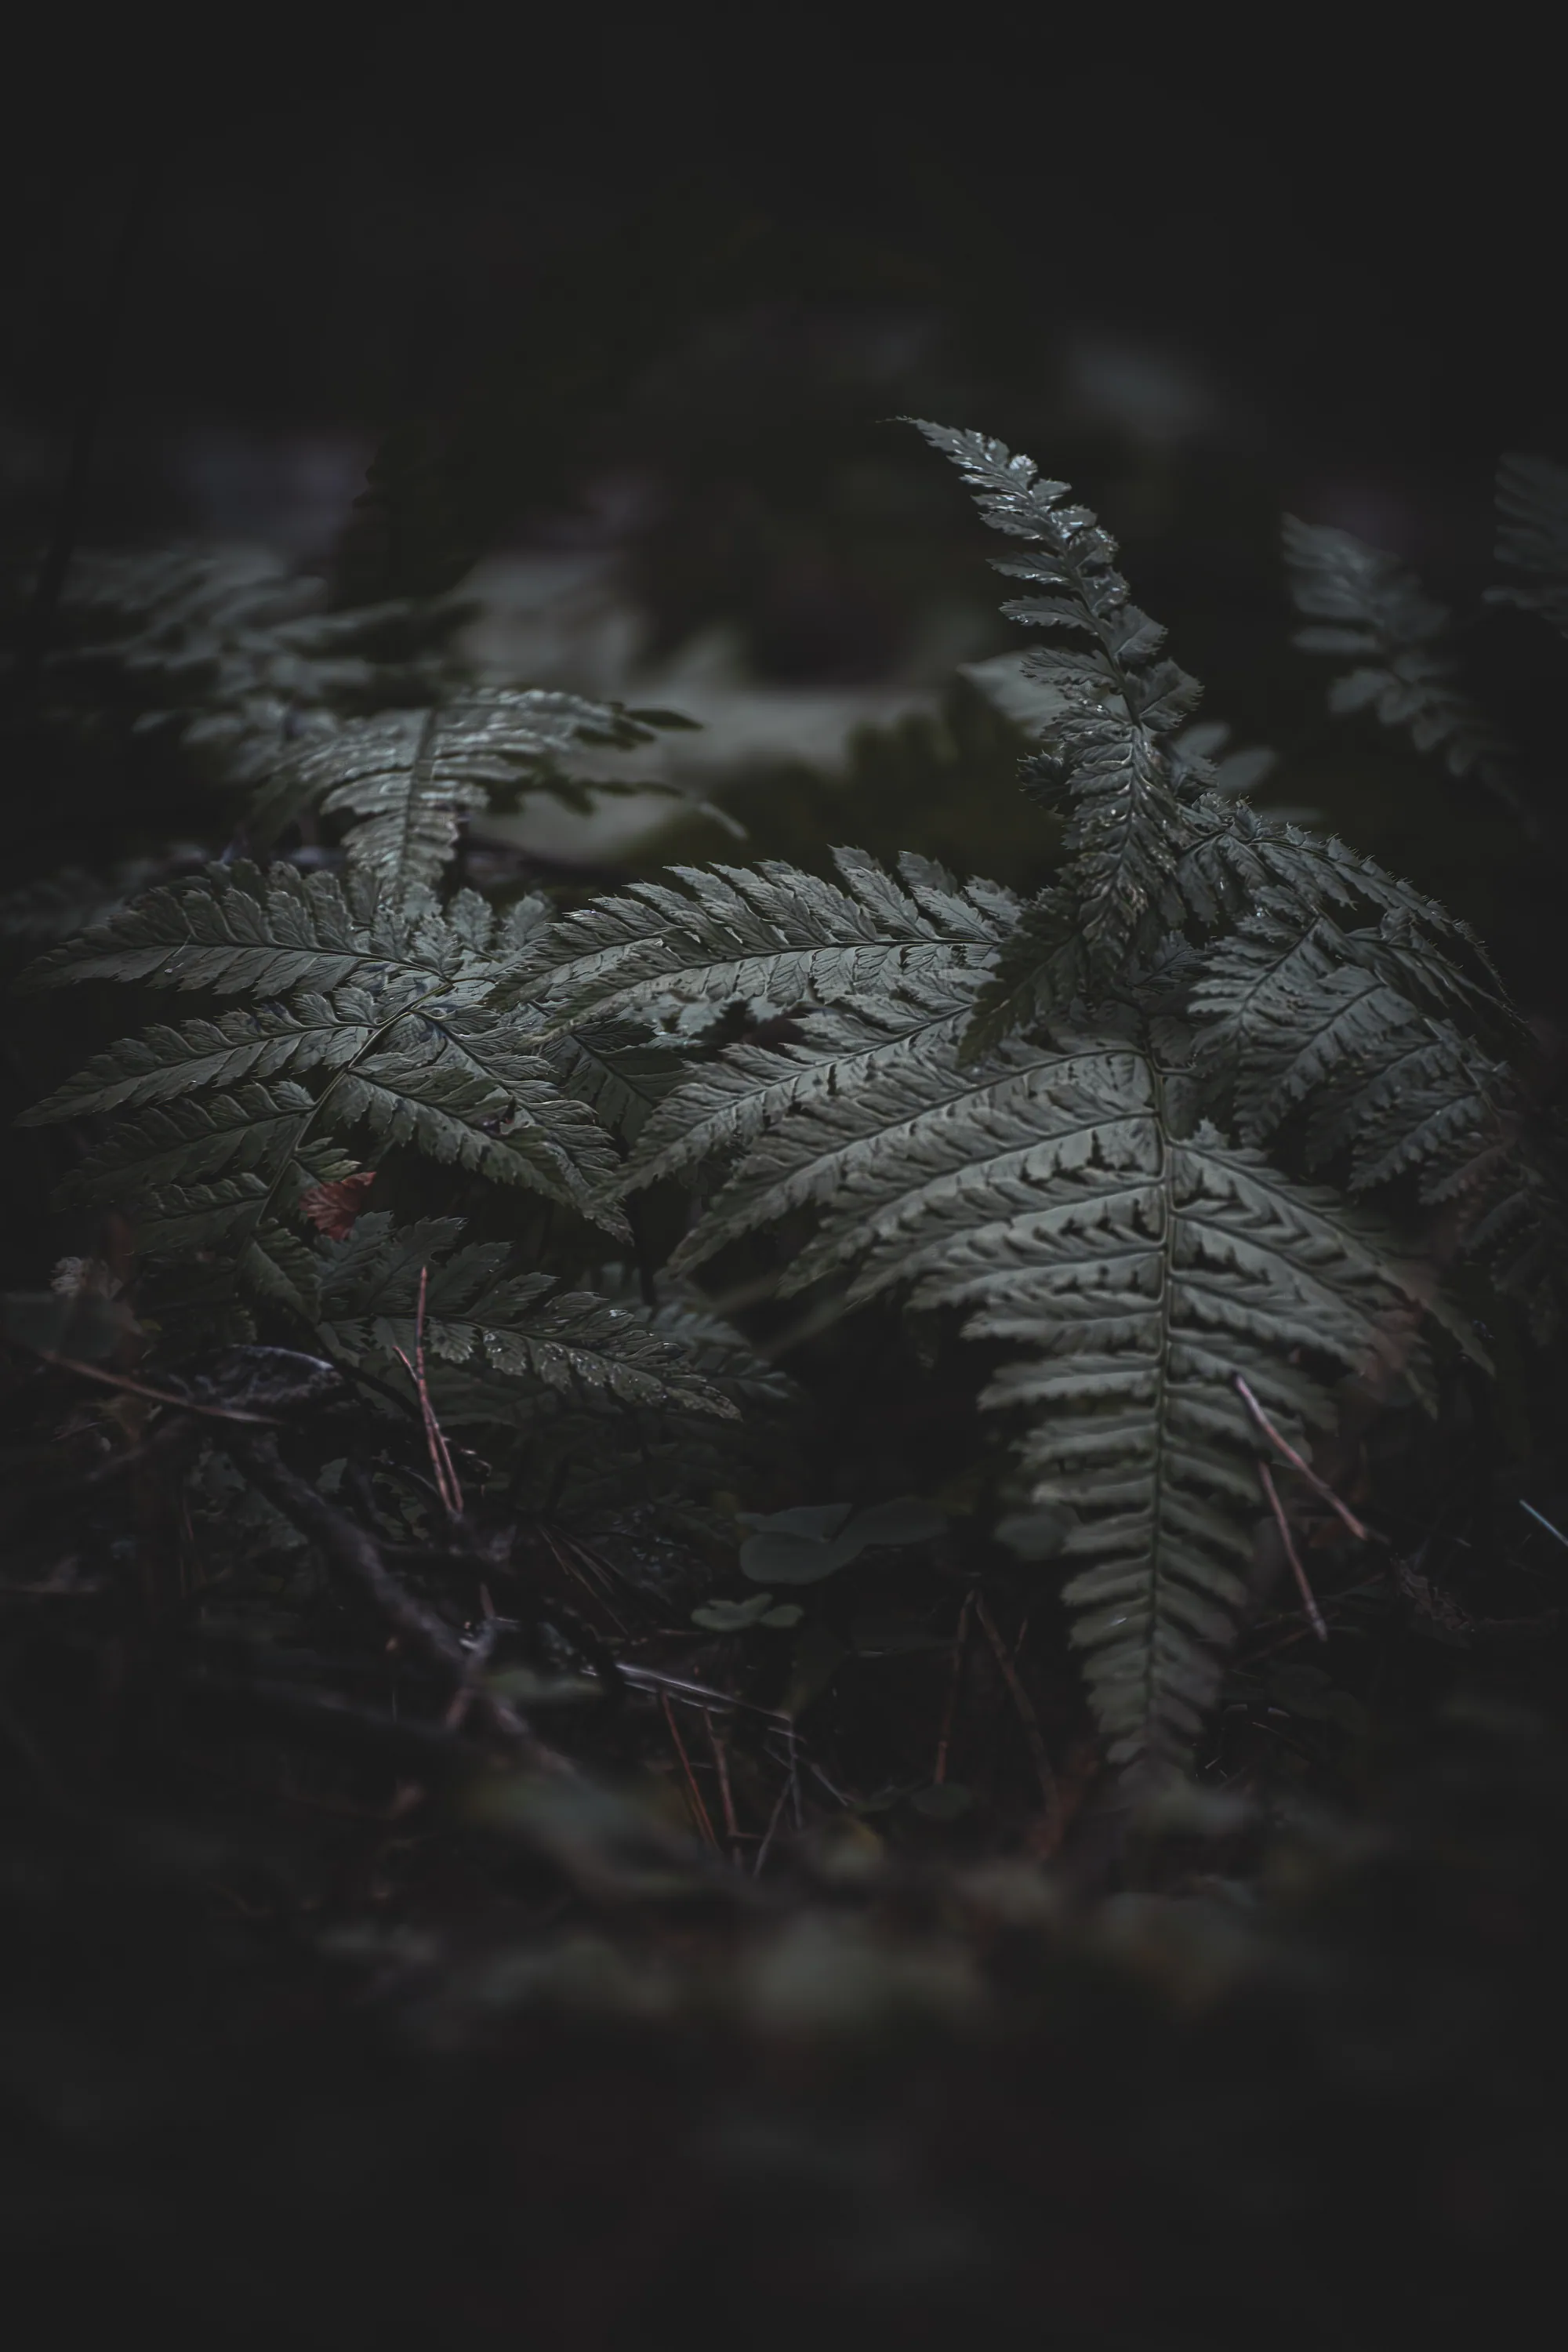
Estonia bog photography is less about finding a spectacular viewpoint than learning to simplify a subtle landscape. Open peatland offers low vegetation, water, isolated pines and a large sky; bog woodland replaces the horizon with trunks, moss and close tonal relationships. Strong photographs often depend on one separation—a dark pine against pale mist, reflected sky inside an irregular pool, or frost interrupting brown vegetation—rather than scale. The practical work is to decide what carries the frame, remove what competes with it and expose enough information to preserve the atmosphere.
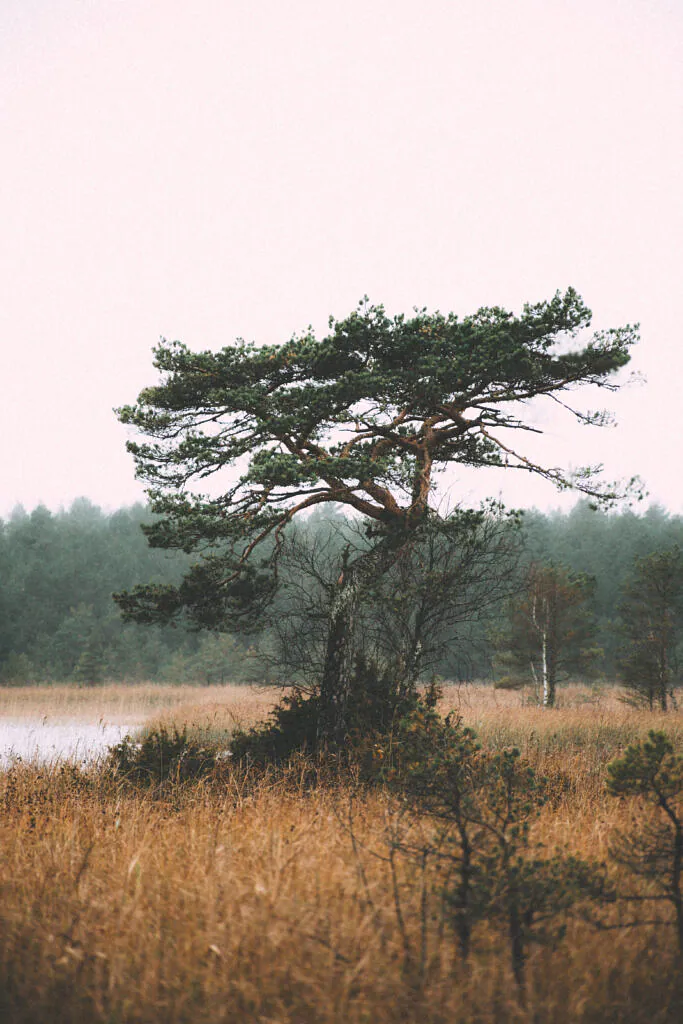
What makes Estonia’s bogs different to photograph?
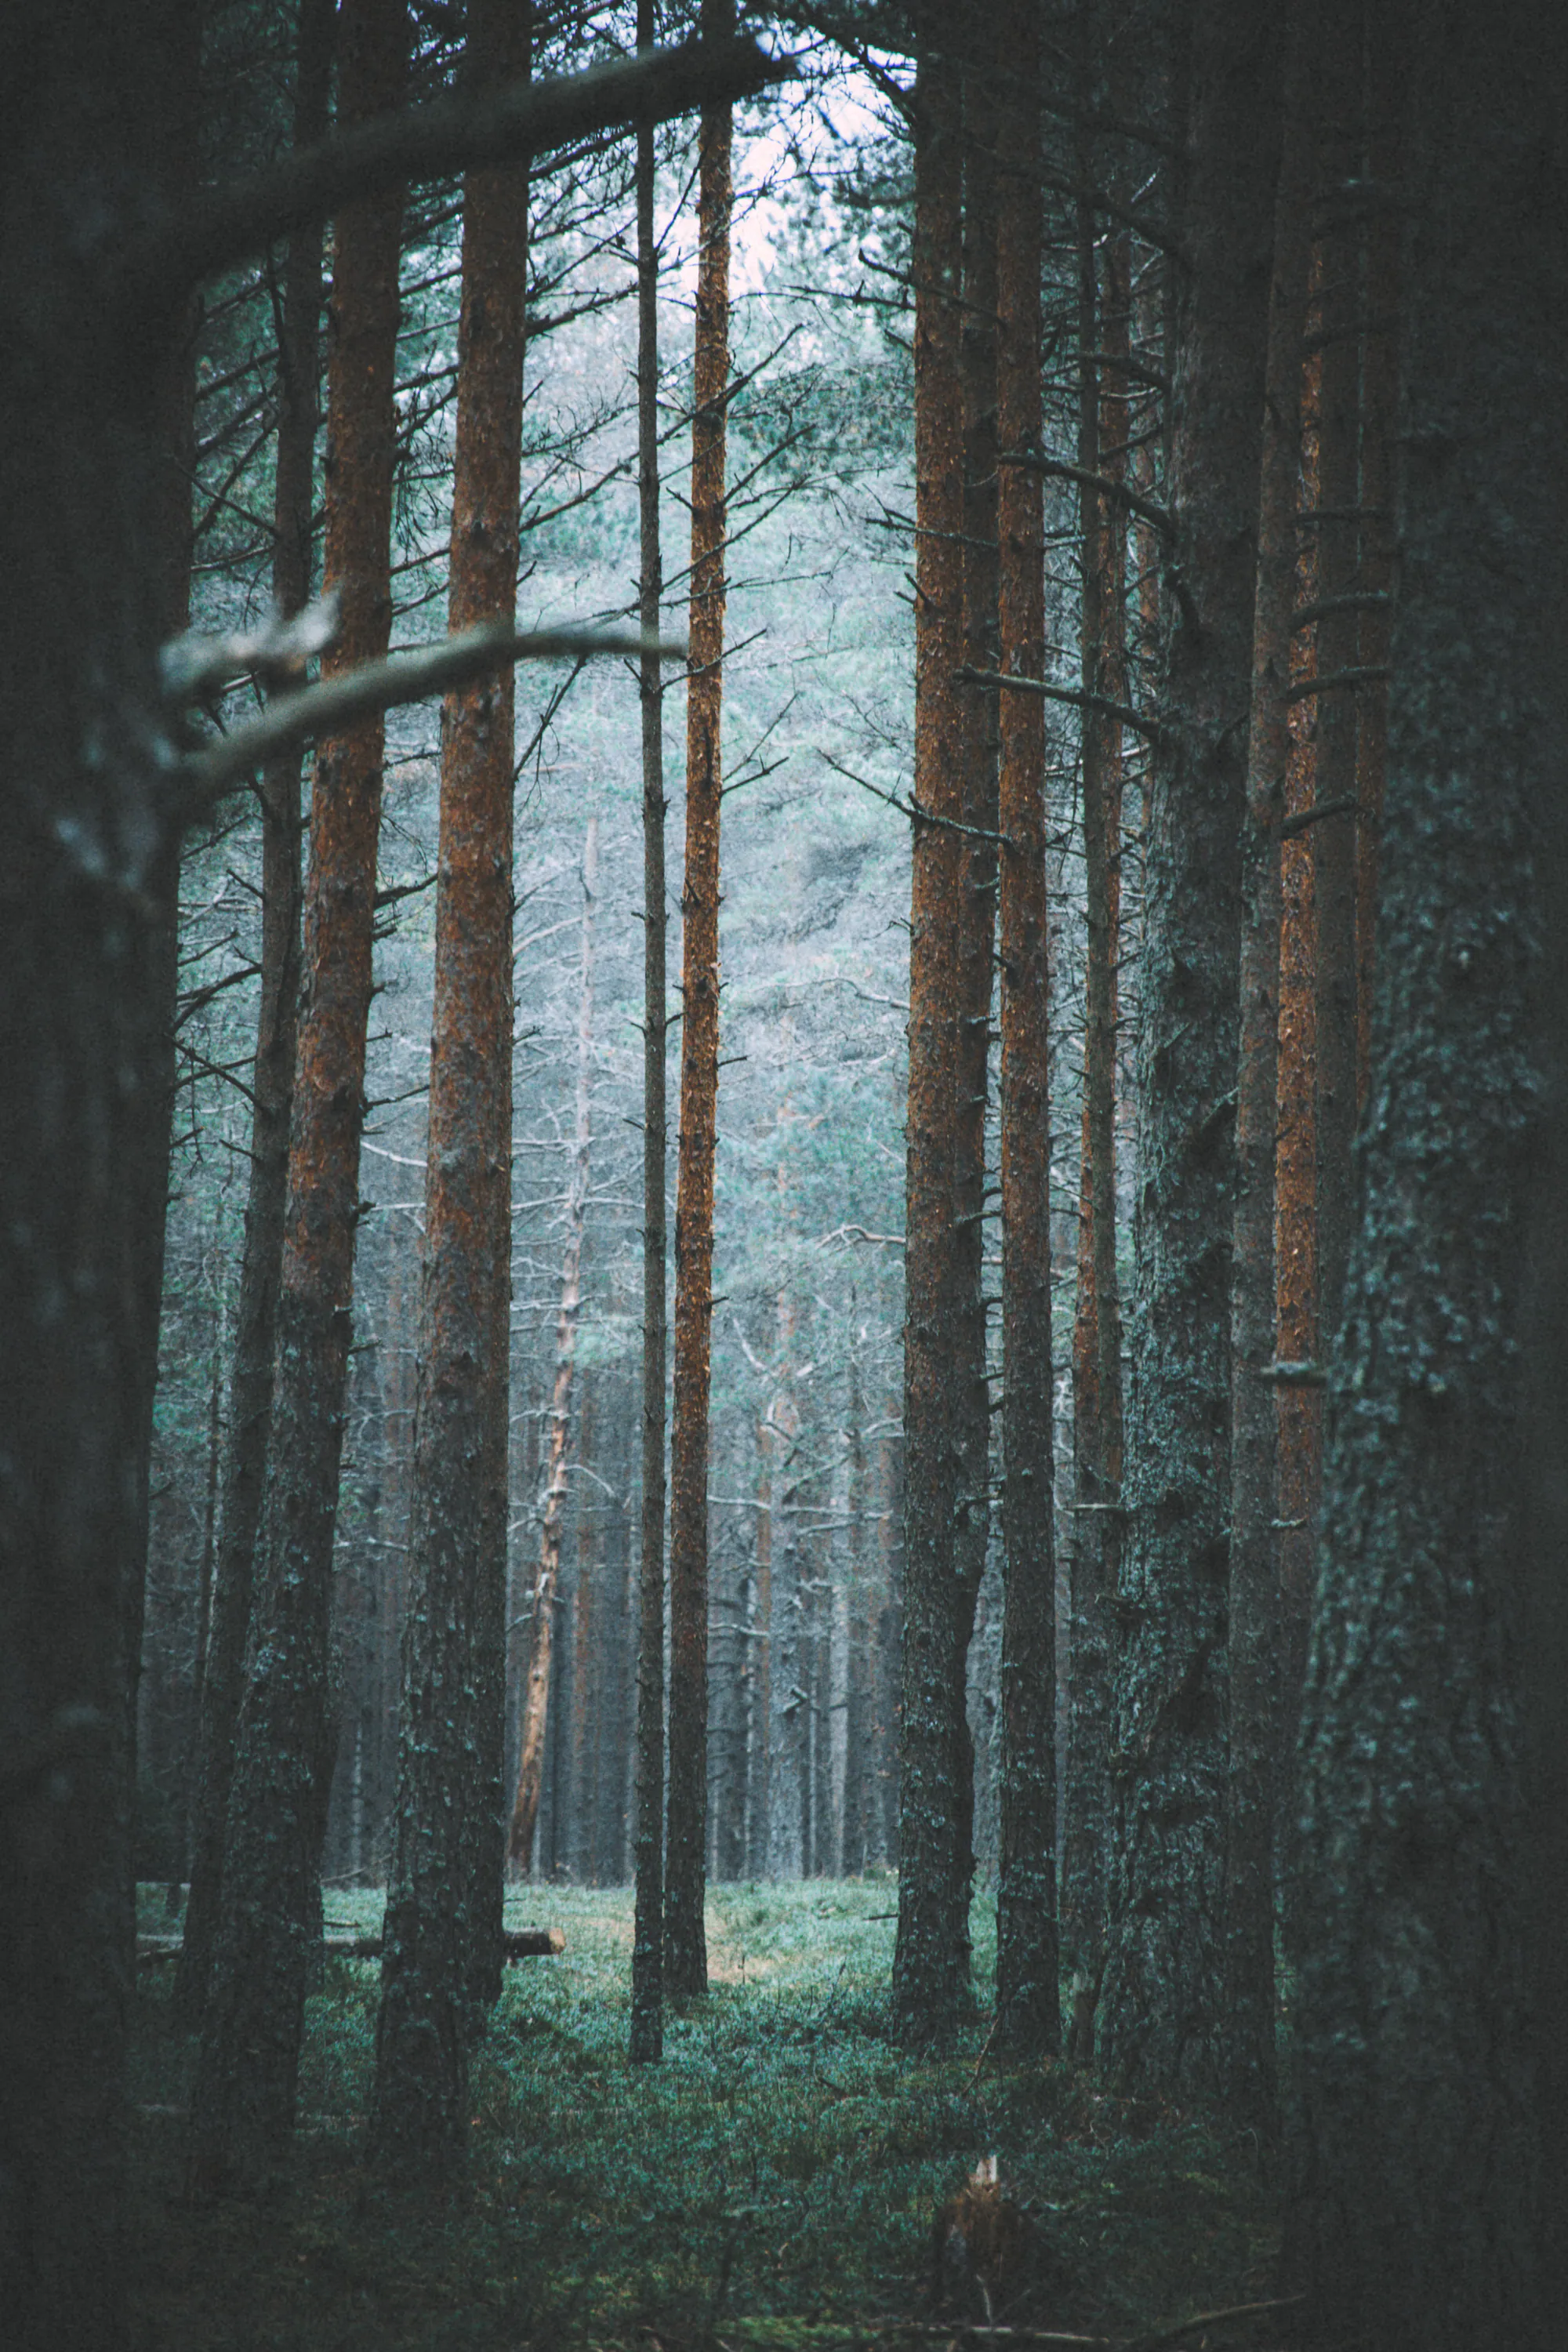
Estonian bogs are not one visual environment. Open raised bogs can give the sky half the frame, with low shrubs, pools and scattered pines providing scale. Bog woodland is more enclosed: vertical trunks repeat, the horizon disappears and small differences in bark, moss and light become the subject. Between them, transitional ground can combine taller forest, scrub, wet hollows and changes in vegetation height.
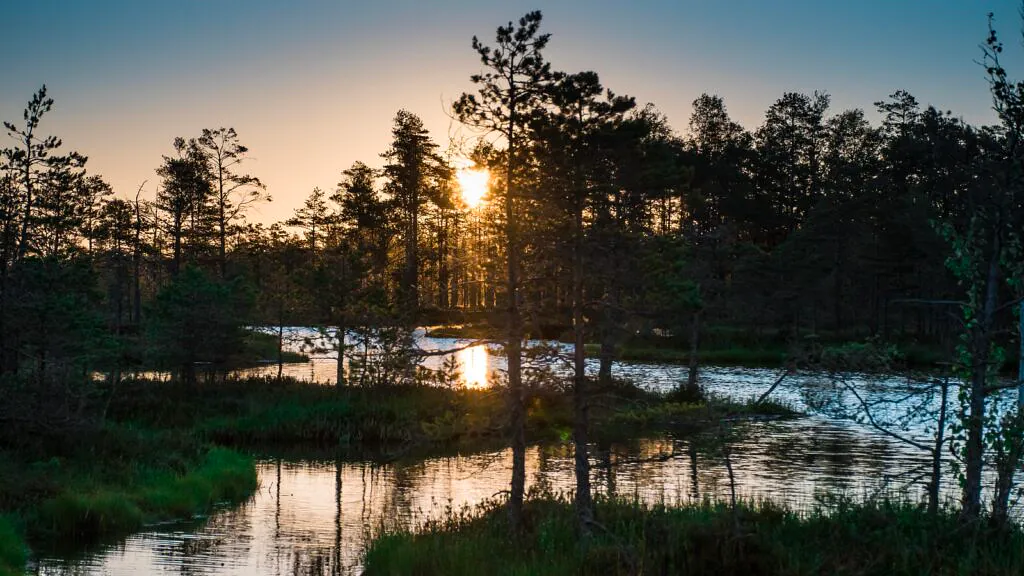
Bog pools introduce shape, negative space and reflected light. Their edges are rarely clean geometric lines; sedges, small pines and ripples break the reflection. That interruption is often more useful than a perfect mirror because it joins water to land. A broad open view may need only two or three tonal bands, while a woodland frame may require careful separation of every trunk near the border.
The flatness is not a deficiency to hide. With little monumental relief, spacing and repetition become visible. One darker island of trees can balance a bright sky. A thin band of warm vegetation can divide cool water from distant forest. The photograph succeeds through relationships that a mountain scene might overwhelm.
Read the bog before taking the camera out
Find the dominant element first, then test what supports it. Before choosing a lens, identify the strongest pine, pool edge, patch of frost, bright trunk or line of boardwalk. Look beyond the subject: does it separate against water, fog, sky or a darker stand of trees? If not, move sideways. A small shift can place pale water between two trunks or remove a bright gap from the edge.
Change camera height as deliberately as position. Lowering the camera can give grasses and boardwalk texture more weight, but it may also merge distant vegetation into one band. Raising it can reveal the shape of water or separate parallel lines. Scan all four edges after every change. Flat landscapes make accidental edge contrast—half a pine, a strip of white sky, a clipped pool—unusually assertive.
Look for repetition with one controlled interruption: several small pines and one taller tree, evenly spaced trunks and one pale opening, or a field of grasses crossed by dark water. Negative space can be reflected sky, fog or undetailed snow. It works when it gives the subject room; it fails when it is merely an empty area unrelated to the visual anchor.
What to photograph in Estonia’s bogs
Choose subjects by the visual problem they solve. A lone pine provides asymmetry and scale in open ground; look for clear space around its crown, a reflection, fog or colour contrast with the vegetation. A bog island can create a middle distance between foreground pools and the horizon. In woodland transitions, compare tree heights and search for one light or tonal change that establishes hierarchy.
For pools, begin with the shape of the water rather than the reflection alone. A narrow dark inlet can lead across the frame; an irregular pool may act as negative space; wind can turn reflected trees into texture. Place the horizon only if it contributes. Tilting down to exclude a blank sky can make reflected light carry the same information more economically.
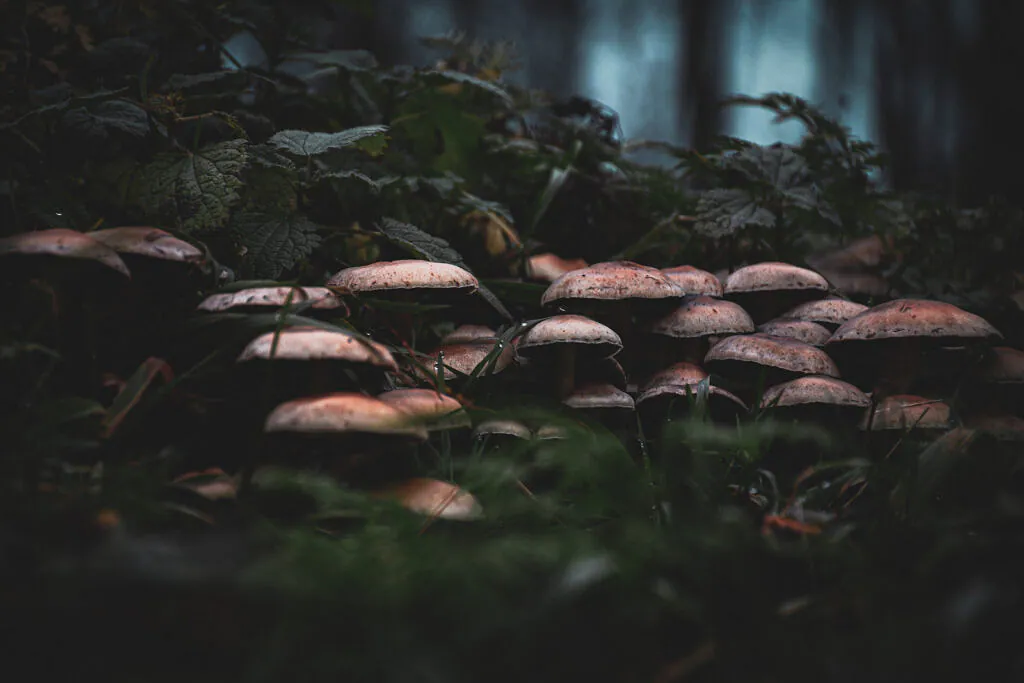
Moss, lichens, fungi, rain beads and frost support intimate landscapes when the background is controlled. Get low enough to understand the subject’s plane, then check whether grass intersects its edge. A small patch of light can separate texture without requiring very shallow depth of field. Do not move fungi or vegetation to tidy a composition; solve the background through position and focal length.
Light and weather matter more than spectacle
Fog simplifies distance by reducing contrast, saturation and edge definition. Near pines remain dark while farther trees become lighter and quieter, turning overlap into tonal layers. A telephoto view can select and enlarge those layers. Fog does not require automatic underexposure: when pale mist fills the frame, the meter may render it too grey. Check the histogram, highlight warning and the scene’s real brightness, then apply exposure compensation only as needed. The dedicated guide to photographing fog in forests goes deeper into focus and changing density.
Overcast light is particularly useful for intimate bog woodland. It reduces hard patches and narrows dynamic range, allowing moss, fungi, wet bark and subdued vegetation to retain detail together. Rain darkens many surfaces and makes colour feel denser, but droplets and waxy leaves produce small specular highlights. A polariser can reduce glare and clarify submerged detail; rotate it while watching the entire frame, because removing reflection can also remove luminosity.
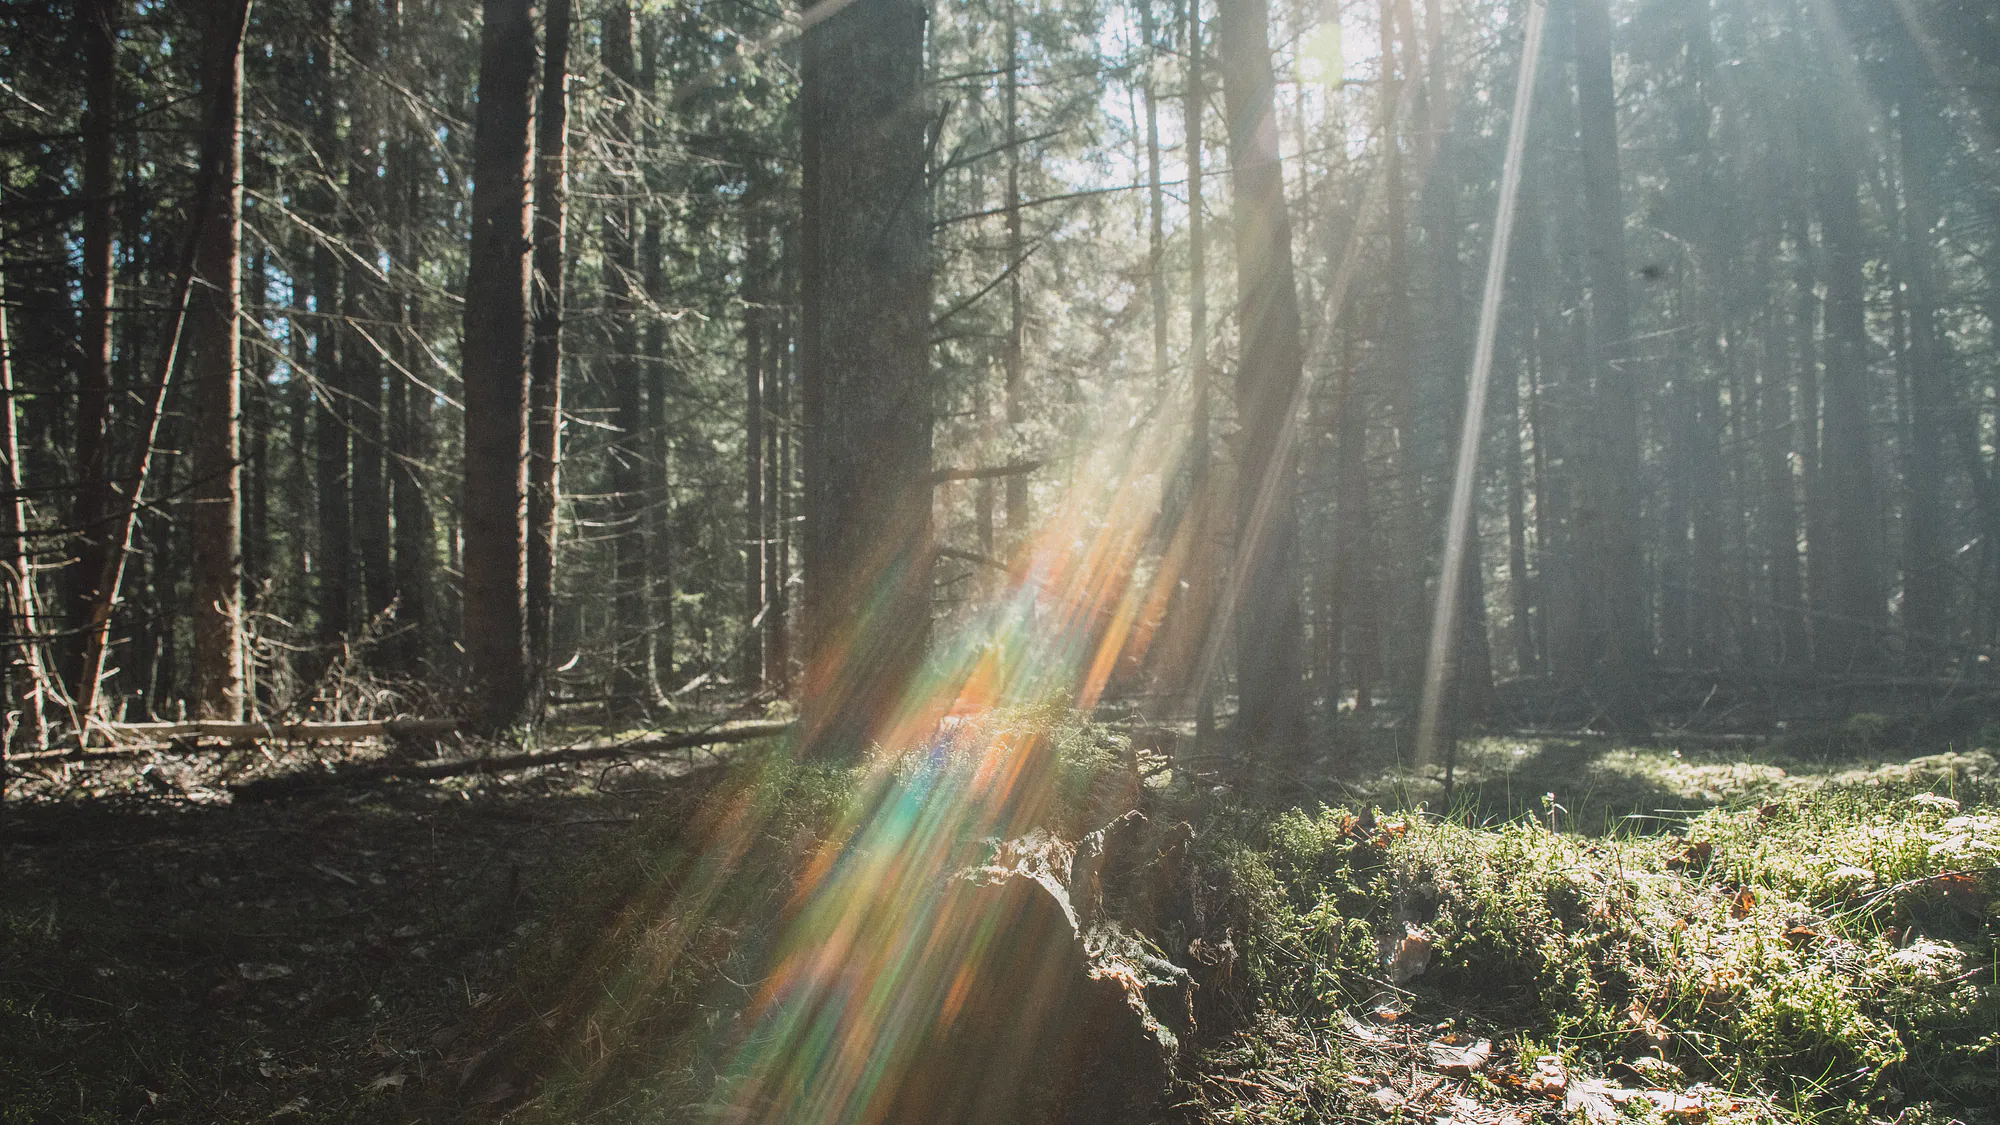
Direct sunlight is not simply bad. Broken midday light can scatter unrelated bright spots across woodland, yet one backlit grass head or illuminated pine against shadow may create the hierarchy the clear-day scene lacks. In open bog, low sun describes vegetation and pool edges, but a bright sky over dark peat may exceed the sensor’s usable range. Expose for meaningful highlights and accept deep, recoverable shadows; bracket only when the scene genuinely needs more range and wind will not prevent alignment.
At twilight, lower light lengthens shutter speed and reflections may carry more colour than the land. A tripod becomes useful, but moving grasses can still blur. Blue colour is part of the condition, not automatically a cast to remove. Establish white balance from the intended relationship between sky, water and land rather than a fixed Kelvin value.
Choose focal length after the composition
Use a wide lens when near-to-far structure is the photograph. Foreground pool edges, boardwalk geometry, a dominant sky or clearly separated land bands can justify the added width. The wider the lens, the more responsibility the photographer has for every object in the frame. In bog woodland, an ultra-wide often makes distant trees small while collecting extra branches and empty corners.
Normal focal lengths around 35–60 mm full-frame equivalent often preserve a natural sense of space while allowing tighter edge control. I would test this range before going wider in a cluttered transition forest. Short telephoto framing around 70–135 mm can isolate a pine group, distant island or narrow strip of reflected light. Longer lenses are especially useful in fog and for small patches of directional light.
“Compression” is not a transformation performed by the lens alone. A narrow angle of view lets you frame distant layers from farther away; that greater camera-to-subject distance makes the spacing between those layers appear reduced while the lens enlarges the selected area. For close work, a macro or close-focusing lens offers background control, but depth of field becomes thin. Stop down only far enough to hold the important planes, watch diffraction, and consider stacking only when the subject and surrounding vegetation are motionless.
Compose a flat landscape without clichés
Reduce the frame to a small number of readable relationships. Separate trees against lighter water or sky, repeat shapes, use colour contrast sparingly and let negative space remain quiet. A wide panorama is not automatically more descriptive than one pine, two pools and a pale horizon.
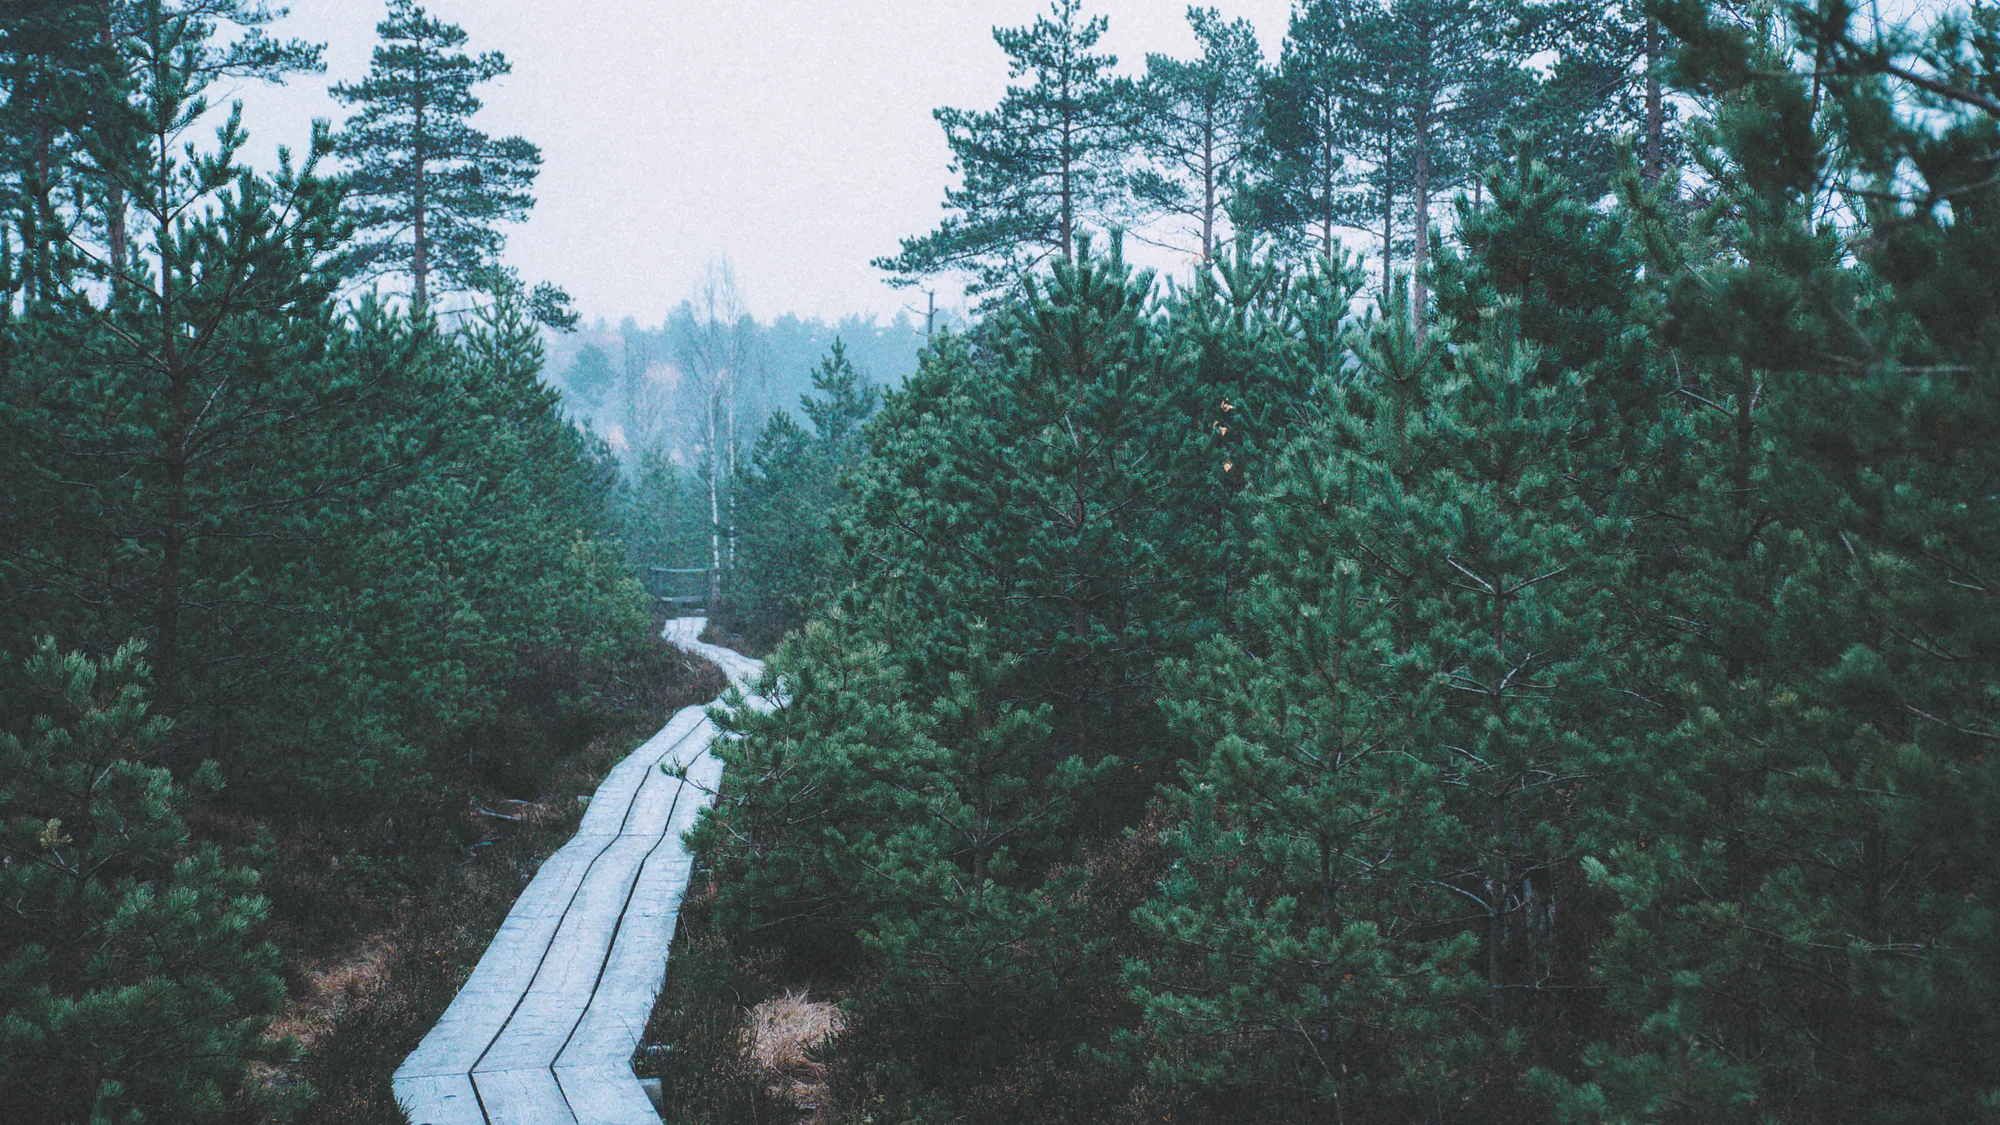
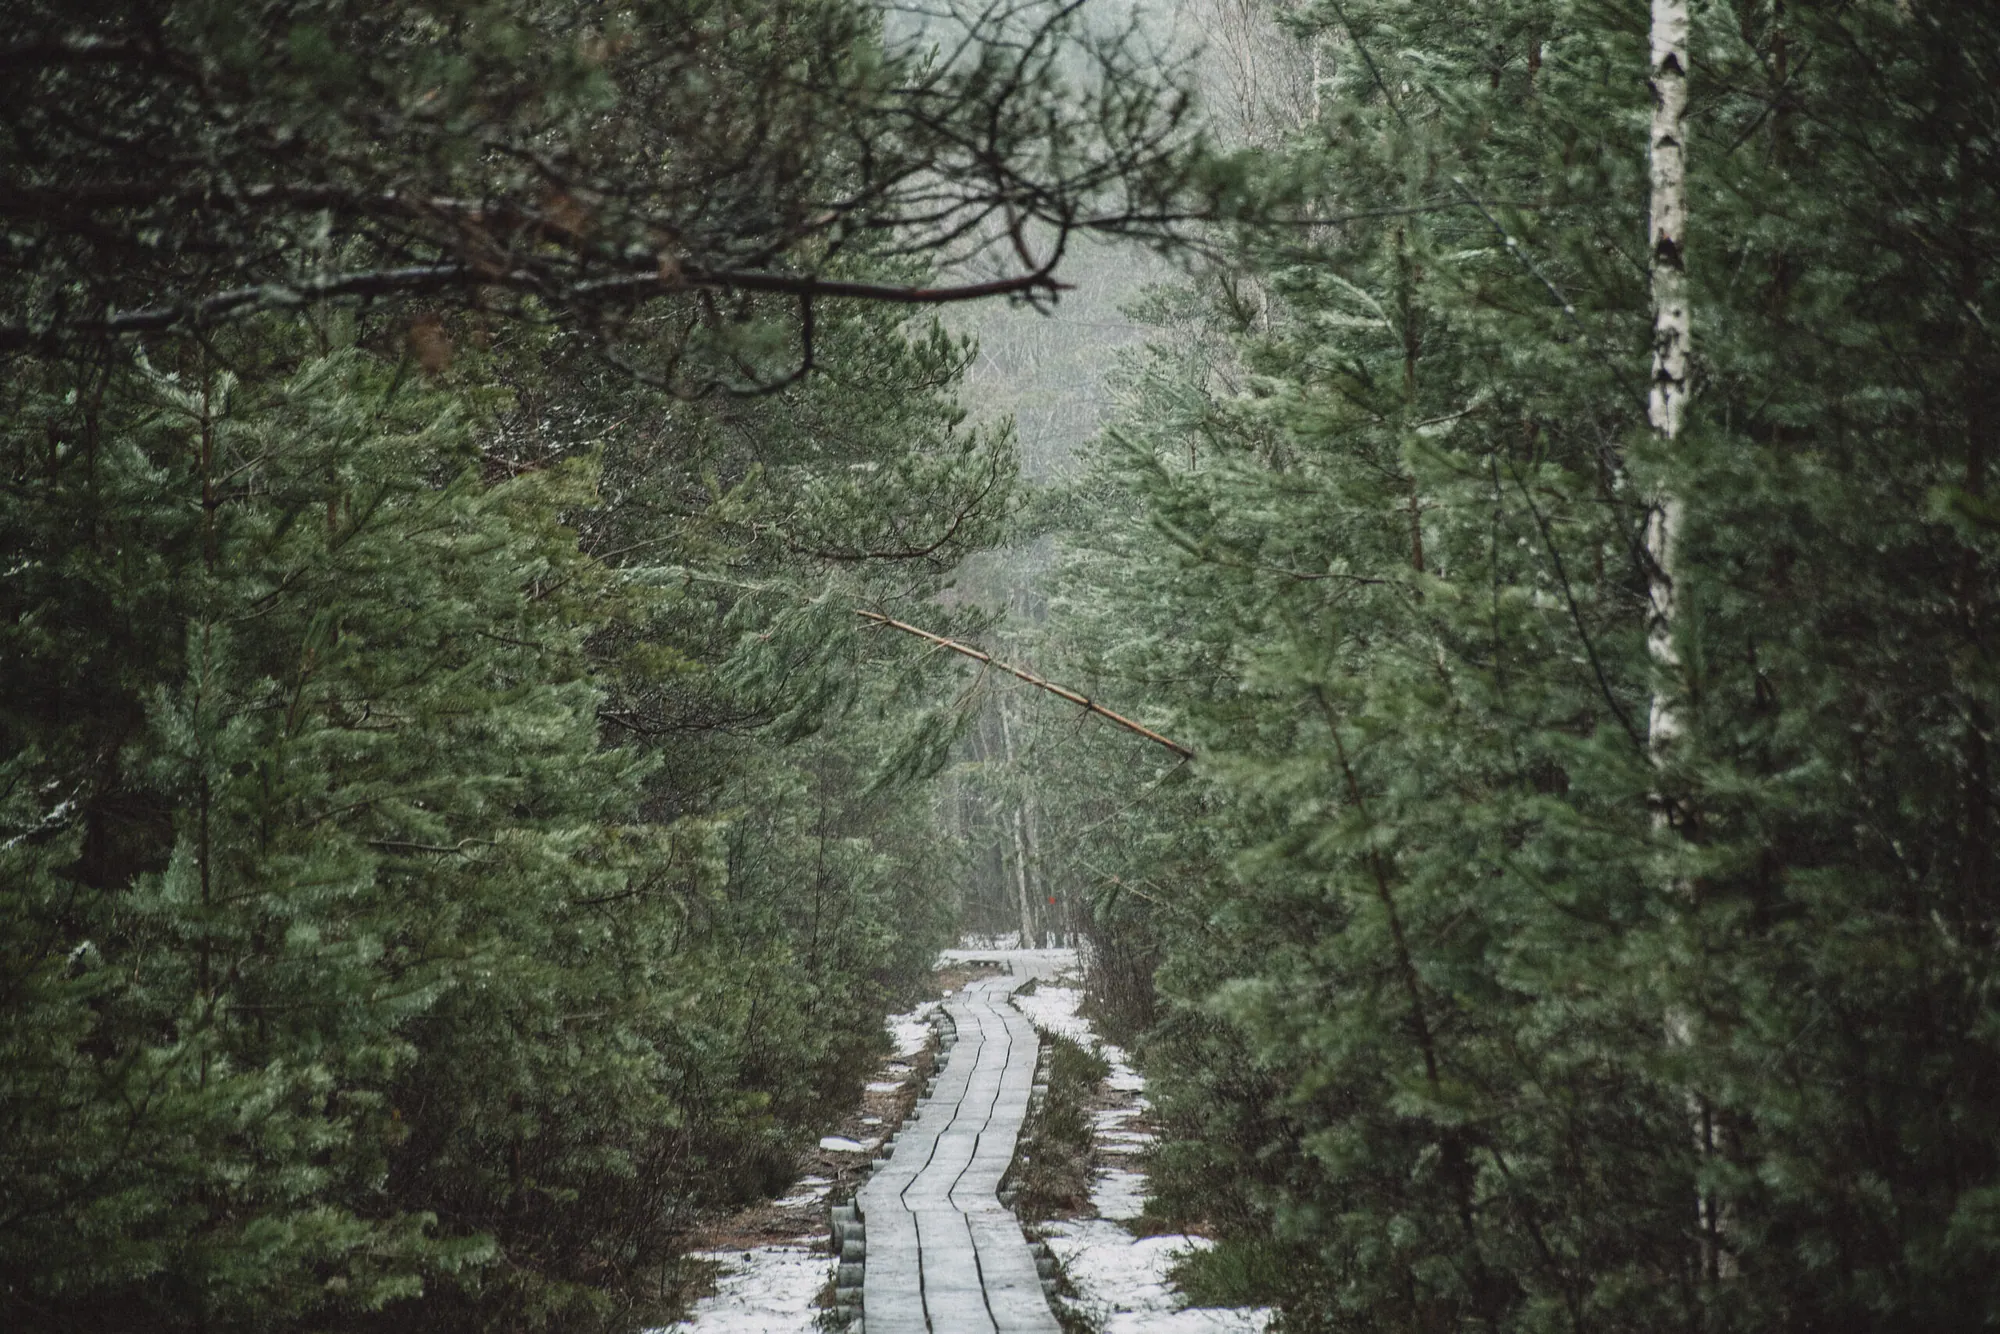
Boardwalks provide scale and geometry, but the centred line disappearing from the bottom edge is only one solution. Place the boards off-centre so they divide two vegetation types; include only a bend or corner; use a low fragment as foreground; or frame across the path so it becomes a horizontal interval. A telephoto view can stack bends and walkers into a measured sequence. If a person is present, use them for scale without allowing bright clothing to become the only subject.
Camera settings for real bog conditions
Set shutter speed from movement, aperture from required depth and ISO from what remains. On a tripod with a static open landscape, base ISO may be practical, but choose aperture from focal length, focus distance and the nearest important element—not from a rule that landscapes require f/11. Review grasses and branch tips at high magnification; a stable camera does not stop the subject moving.
Hand-held in woodland, start with a shutter speed you can hold reliably with that focal length and shorten it for wind-blown vegetation. Stabilisation corrects camera movement, not a swaying fern. Raise ISO when needed: a sharp ISO 800 frame often contains more useful detail than an ISO 100 file softened by motion.
For a bright sky over dark ground, inspect individual-channel clipping as well as the overall histogram. Protect cloud structure or reflected highlights that matter, while keeping enough shadow information for the intended edit. Graduated filtration can work across a clean horizon but may unnaturally darken trees projecting into the sky. Exposure bracketing is an option for a static high-range scene, not a default workflow or an excuse for automatic HDR.
Use a small autofocus area on a defined edge at the distance carrying the composition. In low-contrast fog, focus on bark, a pool edge or textured vegetation rather than blank mist. Focus stacking has value when close foreground and distant structure must both be crisp, but moving plants and changing reflections can make a single carefully focused frame stronger.
Photograph through the seasons
Each season changes structure as much as colour. Spring brings meltwater, wet surfaces, early green and restrained brown ground; changing weather can shift reflections and contrast within minutes. Summer creates long days and dense vegetation. Early and late light may be accessible at extreme hours, while midday often calls for intimate scenes, water patterns or deliberately isolated highlights.
Autumn adds fungi, wet woodland and warm–cool separation between grasses, leaves, conifers and sky. Mist is possible, not guaranteed. Preserve the differences between yellow, orange, green and neutral bark; the guide to photographing autumn forests without oversaturation develops that colour workflow.
Winter removes colour competition and can turn pools, frost and branches into graphic shapes. Snow separates dark trunks, but broad white areas can mislead metering, much like fog. Batteries lose capacity in cold conditions, and moving from cold air into warmth can cause condensation. Seal the camera in its bag and let it warm gradually.
Estonian bogs that illustrate different photographic problems
Choose a location for the kind of seeing you want to practise. These are examples, not a ranking, and current conditions should always be checked on the official trail page before departure.
- Viru Raba: RMK documents a boardwalk, numerous pools and a viewing tower in Lahemaa National Park. It is useful for studying open-bog spacing, pool shapes, broad sky and alternatives to the standard centred boardwalk frame.
- Kakerdaja: the official route combines a boardwalk crossing of the bog with forest and lake sections. That makes it useful for building a sequence from enclosed woodland through transition to open peatland rather than returning with one type of view.
- Marimetsa: RMK describes a route progressing through track, meadow, spruce forest and several wetland stages before reaching pools and a tower. Photograph the changes in vegetation height and enclosure, not only the final open view.
- Mukri: pools, bog lakes and a viewing tower make water patterns and elevated spatial relationships central subjects. RMK currently warns that parts of the woodchip trail are worn and difficult, so check the latest notice before travelling.
- Pääsküla: this protected wetland within Tallinn is valuable for woodland, paths, seasonal detail and the visual meeting of urban edge and bog forest. Jasper Raw’s winter Pääsküla photo story shows how snow simplifies that enclosed environment.
- Rae Raba: municipal material identifies a large, historically drained wetland across Tallinn and Rae Parish. It is better understood photographically as altered bog–forest transition than as a verified visitor boardwalk destination; confirm legal access and current mapping before visiting.
Work carefully in wet and cold conditions
Carry enough protection to keep making deliberate pictures. Waterproof footwear, a weather layer, lens cloth, rain cover and spare battery matter more than a large lens selection. Keep the bag closed during rain and plan lens changes under cover. A tripod helps with deliberate framing and low light, but on a narrow boardwalk it can obstruct others and transmit vibration from footsteps.
Peatland is not a studio floor. Stay on marked paths and boardwalks where required, follow each protected area’s current restrictions, and never step onto fragile vegetation for a cleaner angle. Do not move fungi, moss or branches to manufacture a foreground. In warm months, prepare for insects without introducing repellents to camera surfaces.
Edit bog photographs without losing the atmosphere
Build separation without making every surface louder. Set credible exposure and white balance first, then decide which shadows need texture and which can become true black. “Moody” does not mean collapsing wet bark, moss and peat into the same value. The longer guide to editing moody forest photographs explains how lower midtones preserve depth.
Fog rarely benefits from aggressive global Dehaze or Clarity. Those controls can darken distance, increase colour density and destroy the low-contrast layering captured in the field. Use restrained local adjustments to clarify the anchor, quiet a bright edge or reduce competition behind the subject.
Greens may dominate a RAW file, especially after rain. Before adding saturation, inspect hue, luminance and their relationship to brown peat, grey sky and warm grasses. A preset can provide a tonal starting point—Jasper Raw’s Moody Dark preset guide explains the intended workflow—but fog, wet vegetation and deep shadows still need to be judged image by image.
A practical field checklist
- Check the official trail notice, protection rules, weather and daylight.
- Decide whether the day suits open views, woodland layers, water or details.
- Find one anchor and clean its background before choosing focal length.
- Move sideways, change height and inspect every edge.
- Set shutter speed for movement, aperture for required depth, then ISO.
- Check histogram, channel clipping, focus and wind blur.
- Photograph transitions as well as destinations.
- Stay on designated surfaces and leave subjects undisturbed.
A bog rarely announces the photograph. It offers small differences in distance, moisture, colour and repetition. Learning to recognise which of those differences matters—and excluding the rest—is the central craft of photographing Estonia’s peatlands.
Discussion
Thoughts on this story?
A quiet place for questions, experience and considered discussion.
Discussion guidelines
Stay relevant and constructive. No spam or harassment; links may be moderated.
Opening the discussion…